Open Design Hands-On: Quickly Building a Portfolio Homepage with a Local CLI
This time I handed most of my portfolio homepage UI over to Open Design. From choosing a local Coding Agent, picking a design system, and entering the brief, to generating the mockup and handing it off to VS Code, the whole flow was smoother than I expected.
Introduction
This time, when building my portfolio homepage, most of the main screens were done with Open Design. It is not the kind of tool that only spits out a few static mockups. Instead, it connects “requirement alignment, visual direction, design generation, and handoff to local development tools” into a more complete workflow.
One thing to make clear first: the Macintosh-style animation at the beginning of the video was not made with Open Design. I may write a separate article later to share how I actually made that part. This article focuses on the Open Design workflow itself.
Here is the recording of the result:
How I Used Open Design This Time
I did not use it just to draft a simple landing page. I used it directly to organize the structure and visual direction of my portfolio homepage. In practice, the flow roughly breaks down into four steps.
1. Connect a Local Coding Agent First
Open Design does not start by simply asking whether you want to enter a prompt. The first thing it asks is how it should run. You can connect a local Coding Agent, or use your own model key instead.
This time I used the local CLI mode. In the interface, you can directly see several local agent tools, such as Claude Code, Codex CLI, Gemini CLI, Hermes, Cursor Agent, GitHub Copilot CLI, and others.
I like this design a lot, because it means Open Design does not completely separate design from implementation. From the beginning, it already considers “who will take over later” as part of the process.
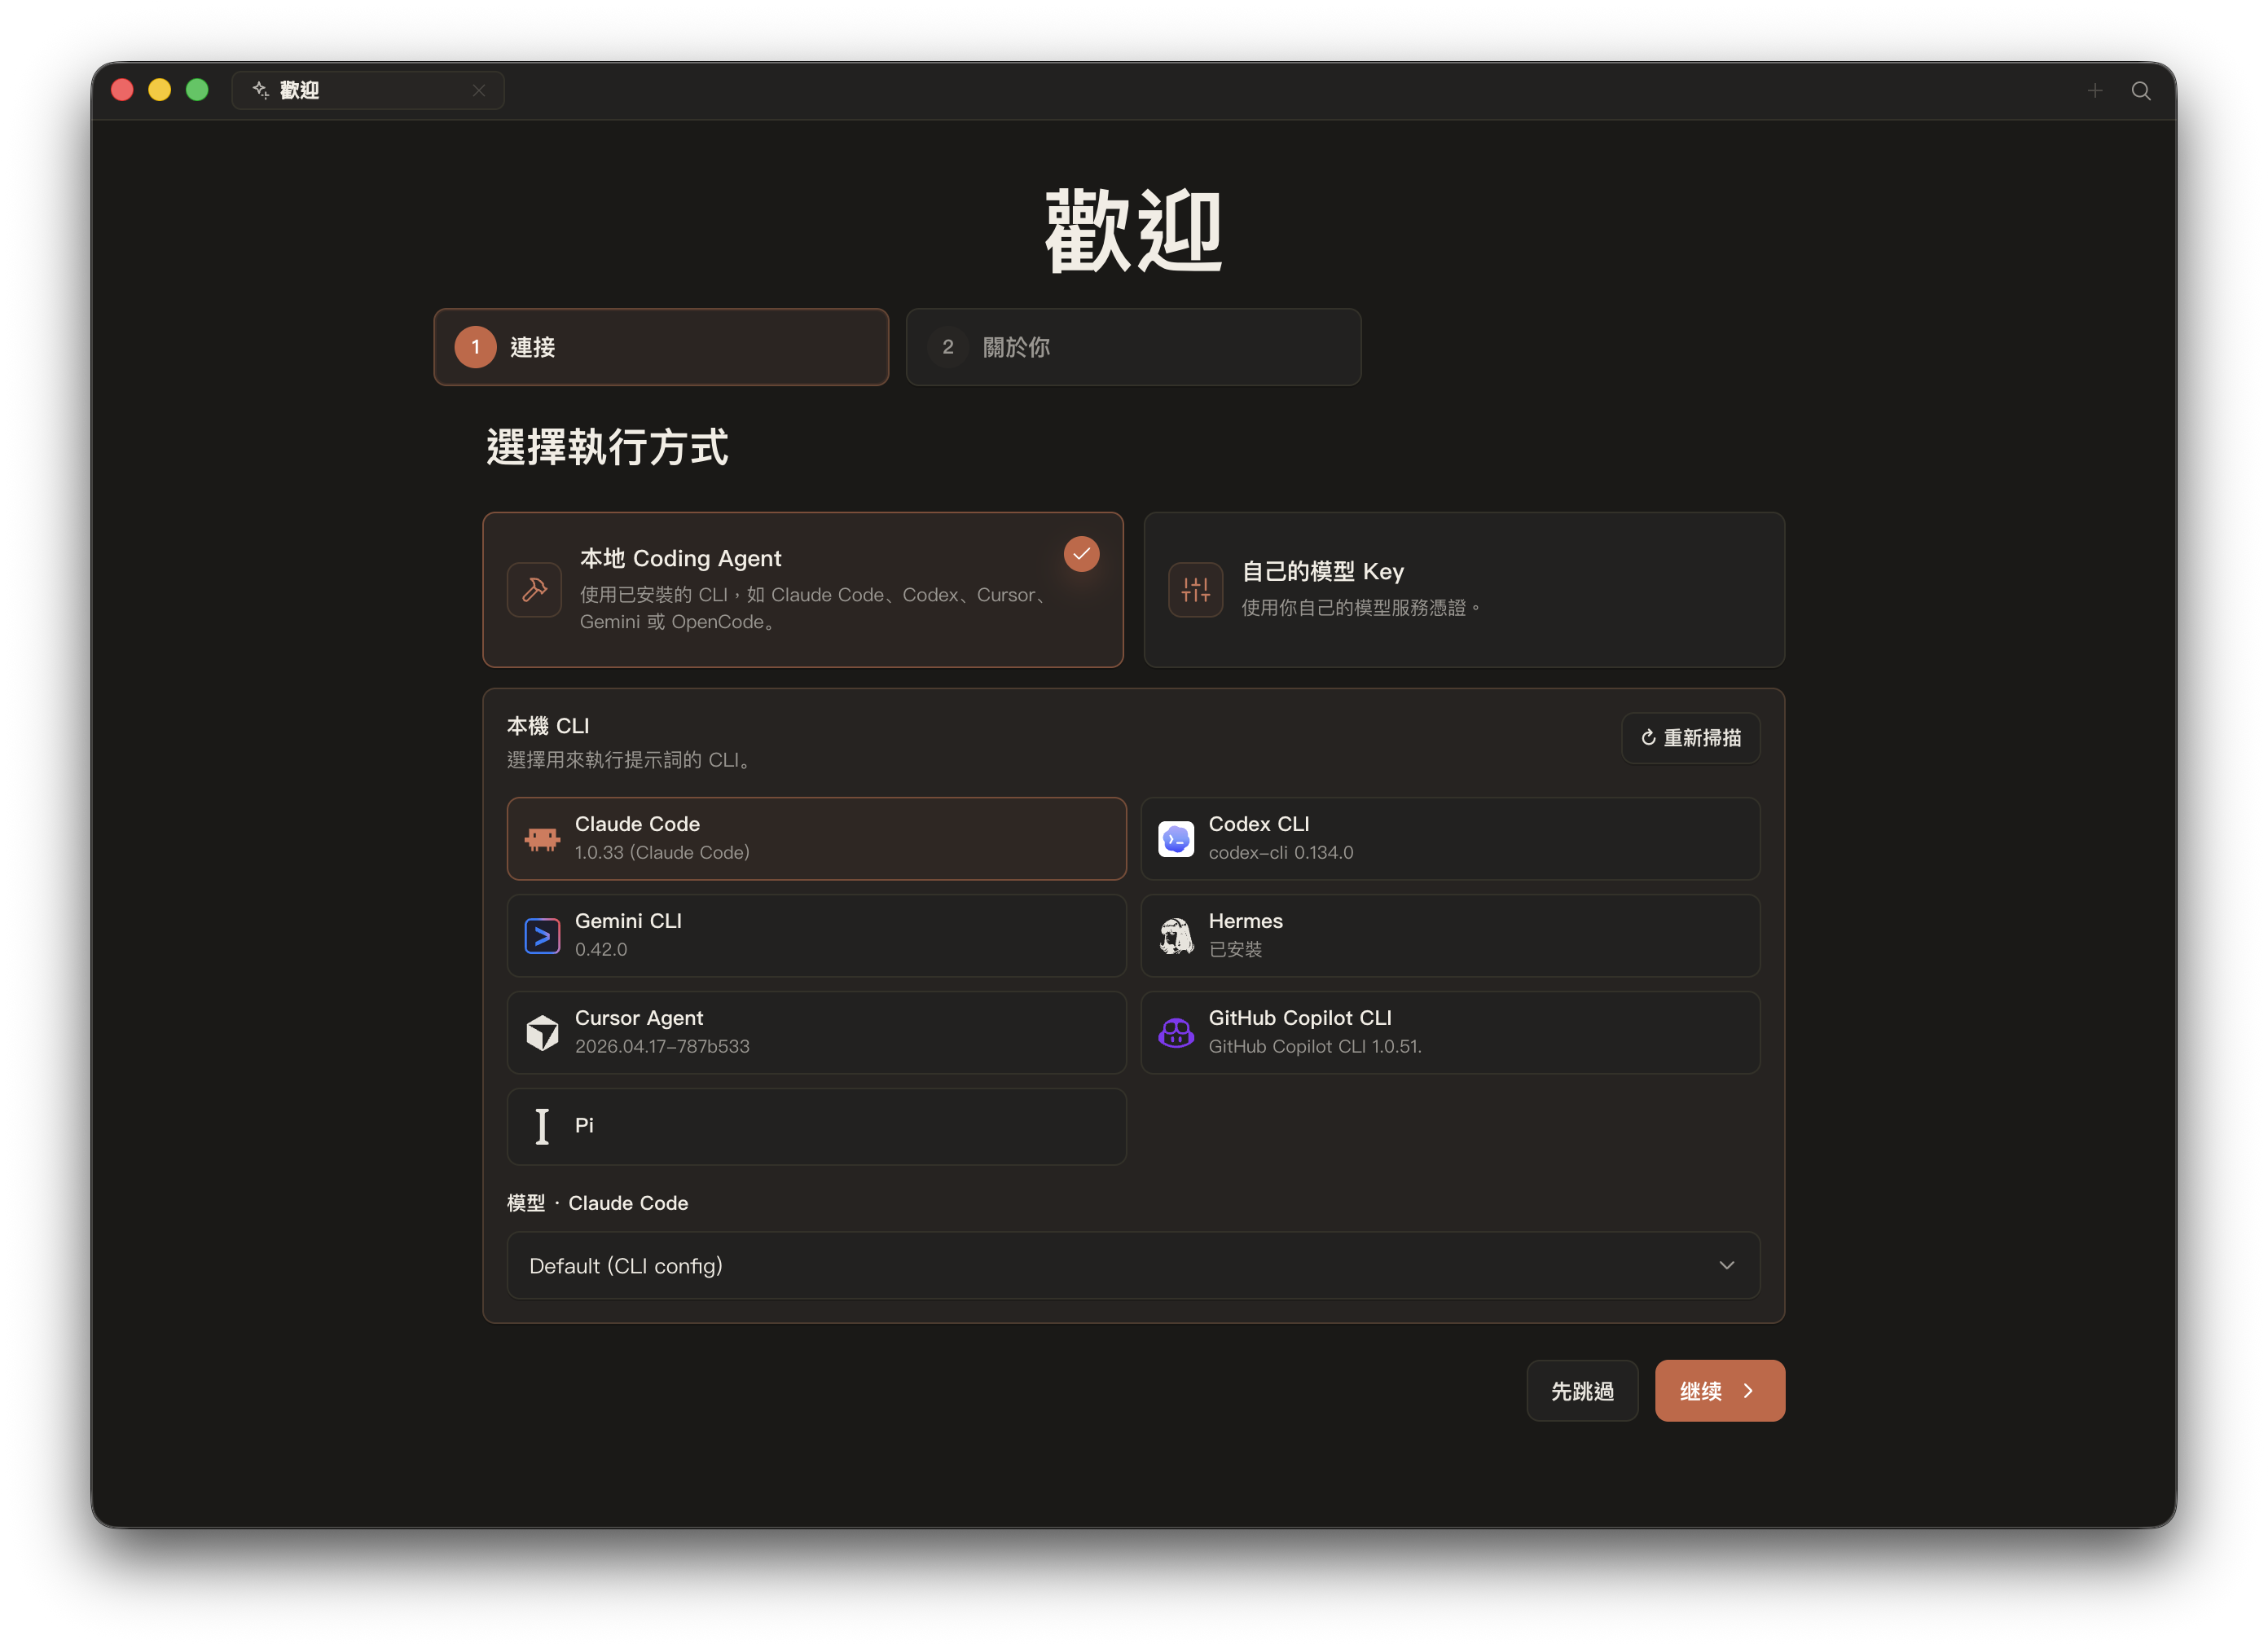
First decide whether to use a local Coding Agent or your own model service credentials
2. Lock In a Design System When Creating a New Project
When creating a new project, Open Design does not just give you a blank input box. It first lets you choose a design system. From the screenshot, you can see a whole row of style categories, such as Neutral Modern, Vibrant, Artistic, Cafe, Cosmic, Editorial, Fantasy, and more.
This step matters. Many AI tools talk about “style” in a vague way, but Open Design first narrows the style layer before moving on to content generation. For people building brand pages, portfolios, or proposal pages, this is much more efficient than blindly trying prompts from scratch.
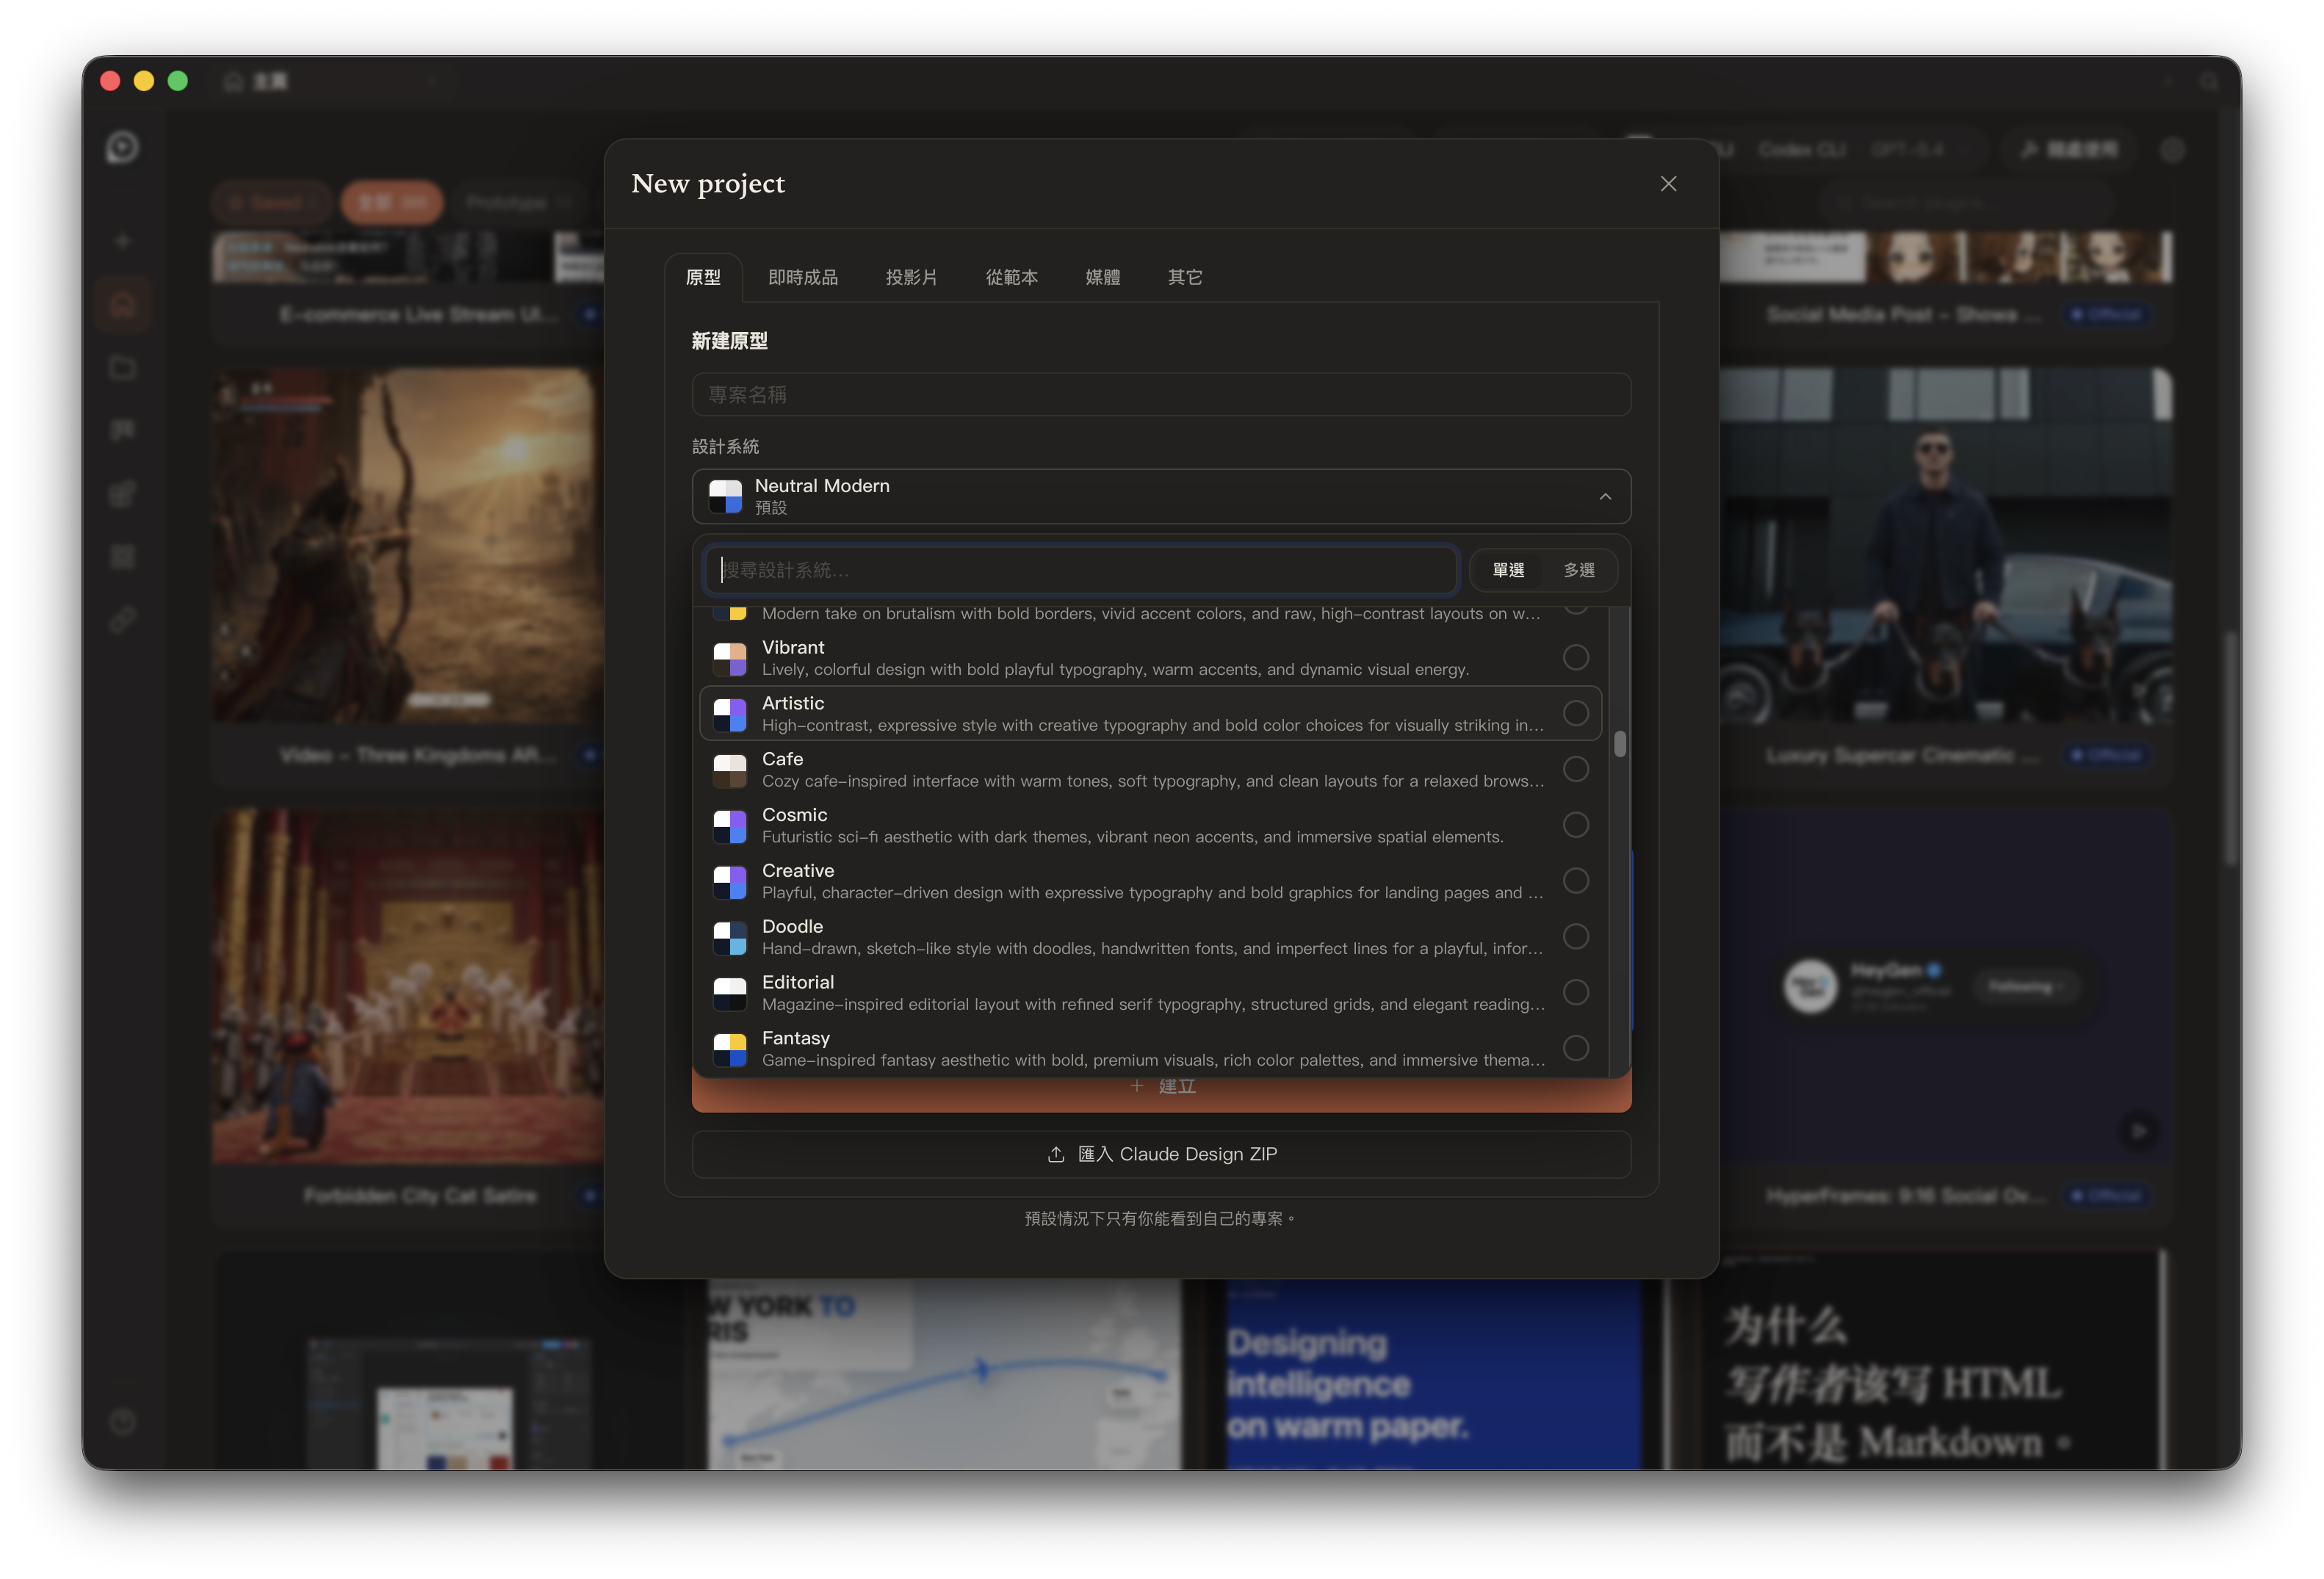
Choosing a design system when creating a new project greatly reduces the cost of visual drift later
3. Use the Brief to Clarify Requirements
This time I was building a personal portfolio homepage, so in the brief I directly clarified the page format, key links, asset strategy, project ordering, and overall tone.
From the screen, this brief area is not a single-line prompt. It is closer to structured requirement collection. For example:
- Whether the site should be a single-page landing page, or a homepage plus a project list
- Which links should be included
- Whether project materials should start with polished placeholders, or be replaced with real assets right away
- Whether the desired feel should lean more toward an Apple launch page, Linear, Vercel, or a personal brand style
The benefit of this approach is that it forces you to organize the requirements to a less vague level first. For me, this step is actually more important than the generation itself.
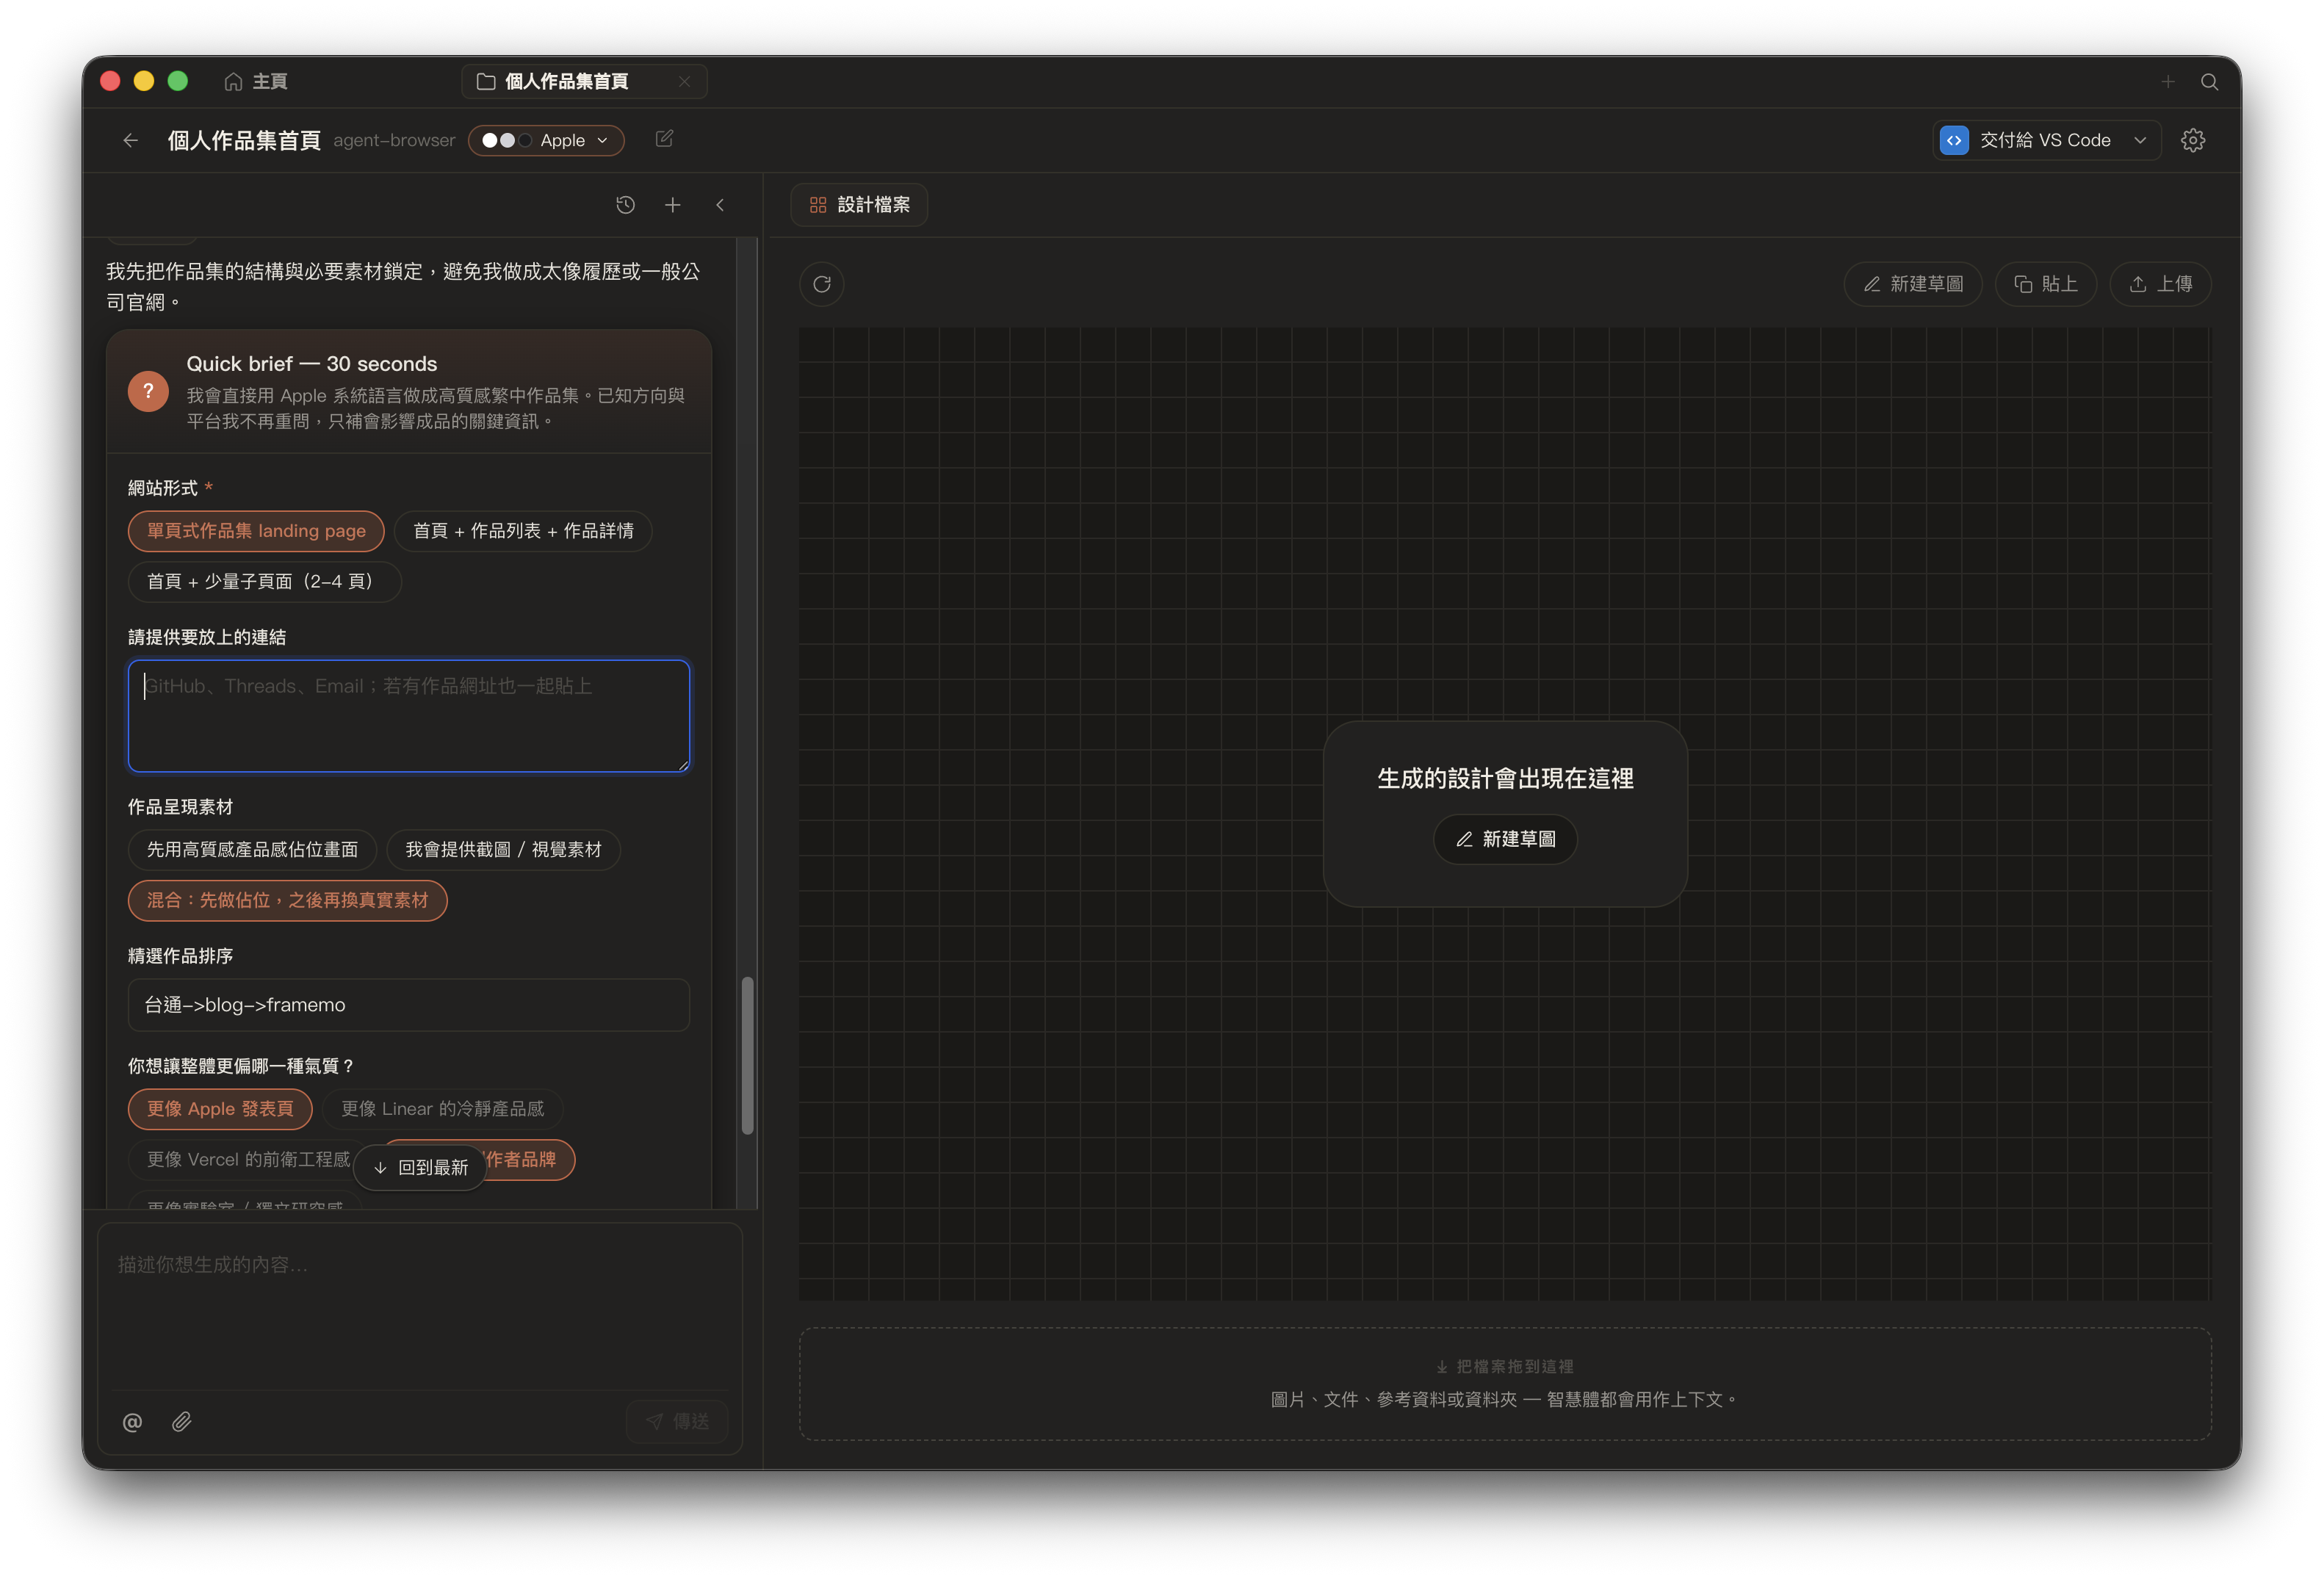
It is not just a one-sentence prompt and done. It first narrows down the requirements and site direction
4. After It Starts Working, You Can See It Actually Running
After the requirements are confirmed, the design workspace is on the right, while the left side shows the agent’s actual execution process. From my screen this time, you can see that it does not just reply with a line saying “I made it for you.” Instead, it lists execution logs, which files it read, how it organized the content, and finally hands off the result.
In the upper-right corner, you can also directly see handoff to VS Code, which I found very practical. Because in many cases, the mockup is not the endpoint. The real value is connecting it back to your own development environment, then continuing to tweak, refactor, and replace things with real data.
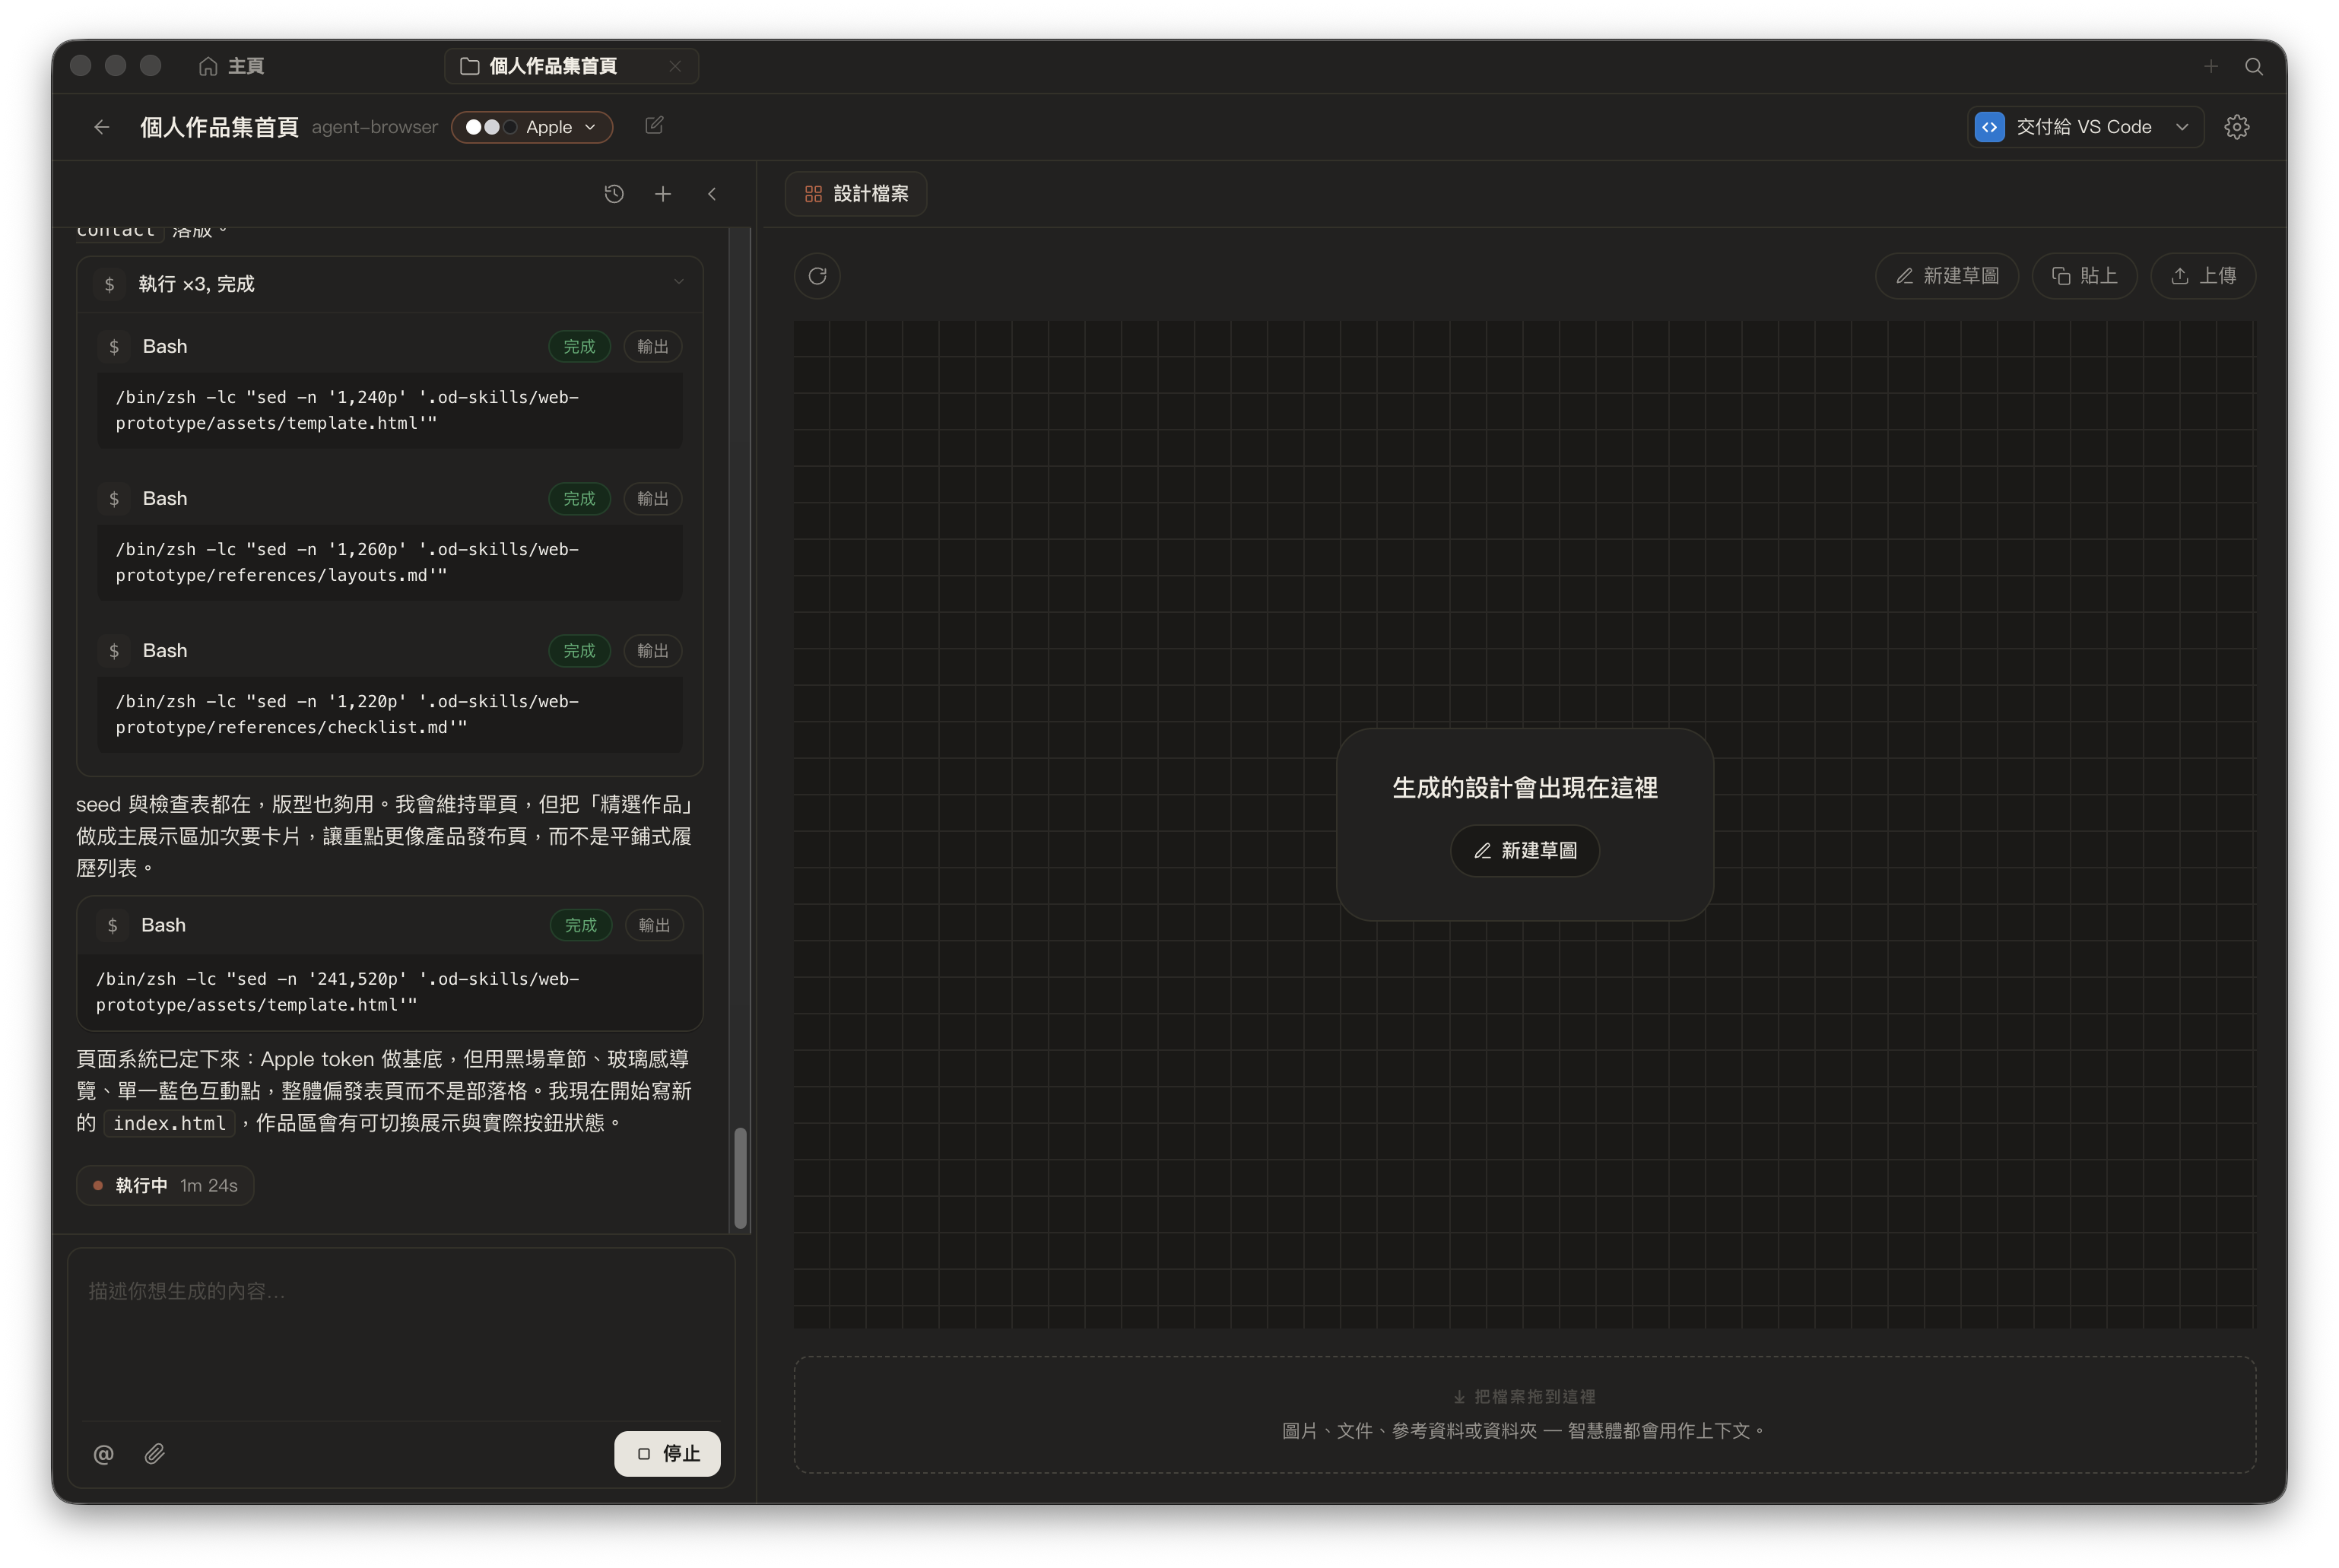
Watch the agent execution process on the left, view the design output on the right, then connect it back to VS Code
My Actual Impression of Open Design
What I care about most is not whether it can generate an extremely polished screen in one shot, but whether it can shorten the distance from blank page to editable version.
After using it this time, Open Design feels more like a design agent that first understands the working context, then starts doing the work. It integrates several things that are usually scattered:
- First decide which local agent / CLI will take over
- First narrow down the design system and visual direction
- Use a structured brief to align requirements
- Hand the result back to an environment where development can continue
The biggest risk with tools like this is that they produce something that “looks designed, but cannot connect to the actual project at all.” At least in terms of workflow design, Open Design is already clearly a step ahead of simply chatting to generate UI.
Who It Is Suitable For
If you match the situations below, I think Open Design will be useful:
- You already have a local CLI workflow and want to bring design ideation into it
- You want to quickly build a portfolio, event page, brand homepage, or simple product page
- You do not want to lay everything out from scratch at the beginning, but also do not want to receive only an uneditable image
- You care more about “getting the direction right first” than endlessly rerolling prompts
If you are already used to hand-crafting every section, every spacing value, and every font size yourself, Open Design may not fully replace your design process. But it works well as an accelerator for the first round.
Closing Thoughts
For most of this portfolio homepage, I did rely on Open Design to first pull together the structure and visual direction. It saved me quite a bit of time that would otherwise have gone into trial and error from a blank page, and it made the connection between design and the local CLI workflow feel more natural.
As for the Macintosh-style animation at the very beginning of the video, I will not expand on that in this article. If I get the chance next time, I will write a separate piece explaining how that part was made.
Related Links: