OpenVid Tutorial: Browser-Based Product Demo Recording and 3D Camera Post-Production Without Installation
Want to record polished demo videos for your product? OpenVid lets you apply 3D camera angles, zooms, and clean backgrounds directly in the browser, then export a high-quality demo video with one click.
Why Choose OpenVid?
When promoting a product or writing an article, raw screen recordings often look a bit plain. There are paid tools that can create polished mockup videos, but they usually come with a meaningful subscription cost or require downloading a dedicated app.
OpenVid is an open-source product demo video creation tool. The most appealing part is that it runs entirely in the browser, with no software installation required. You only need to record your screen or upload an existing video, then within a few seconds you can apply 3D perspective rotation, smooth timeline zooms, clean device frames (mockups), and a range of modern-looking backgrounds before exporting a high-quality demo.
Editor Interface and Output Preview
Editor Interface
Below is OpenVid’s web editor interface. The left side is a capable control panel for 3D transforms, timeline zoom, and layer management, while the right side shows the live preview:
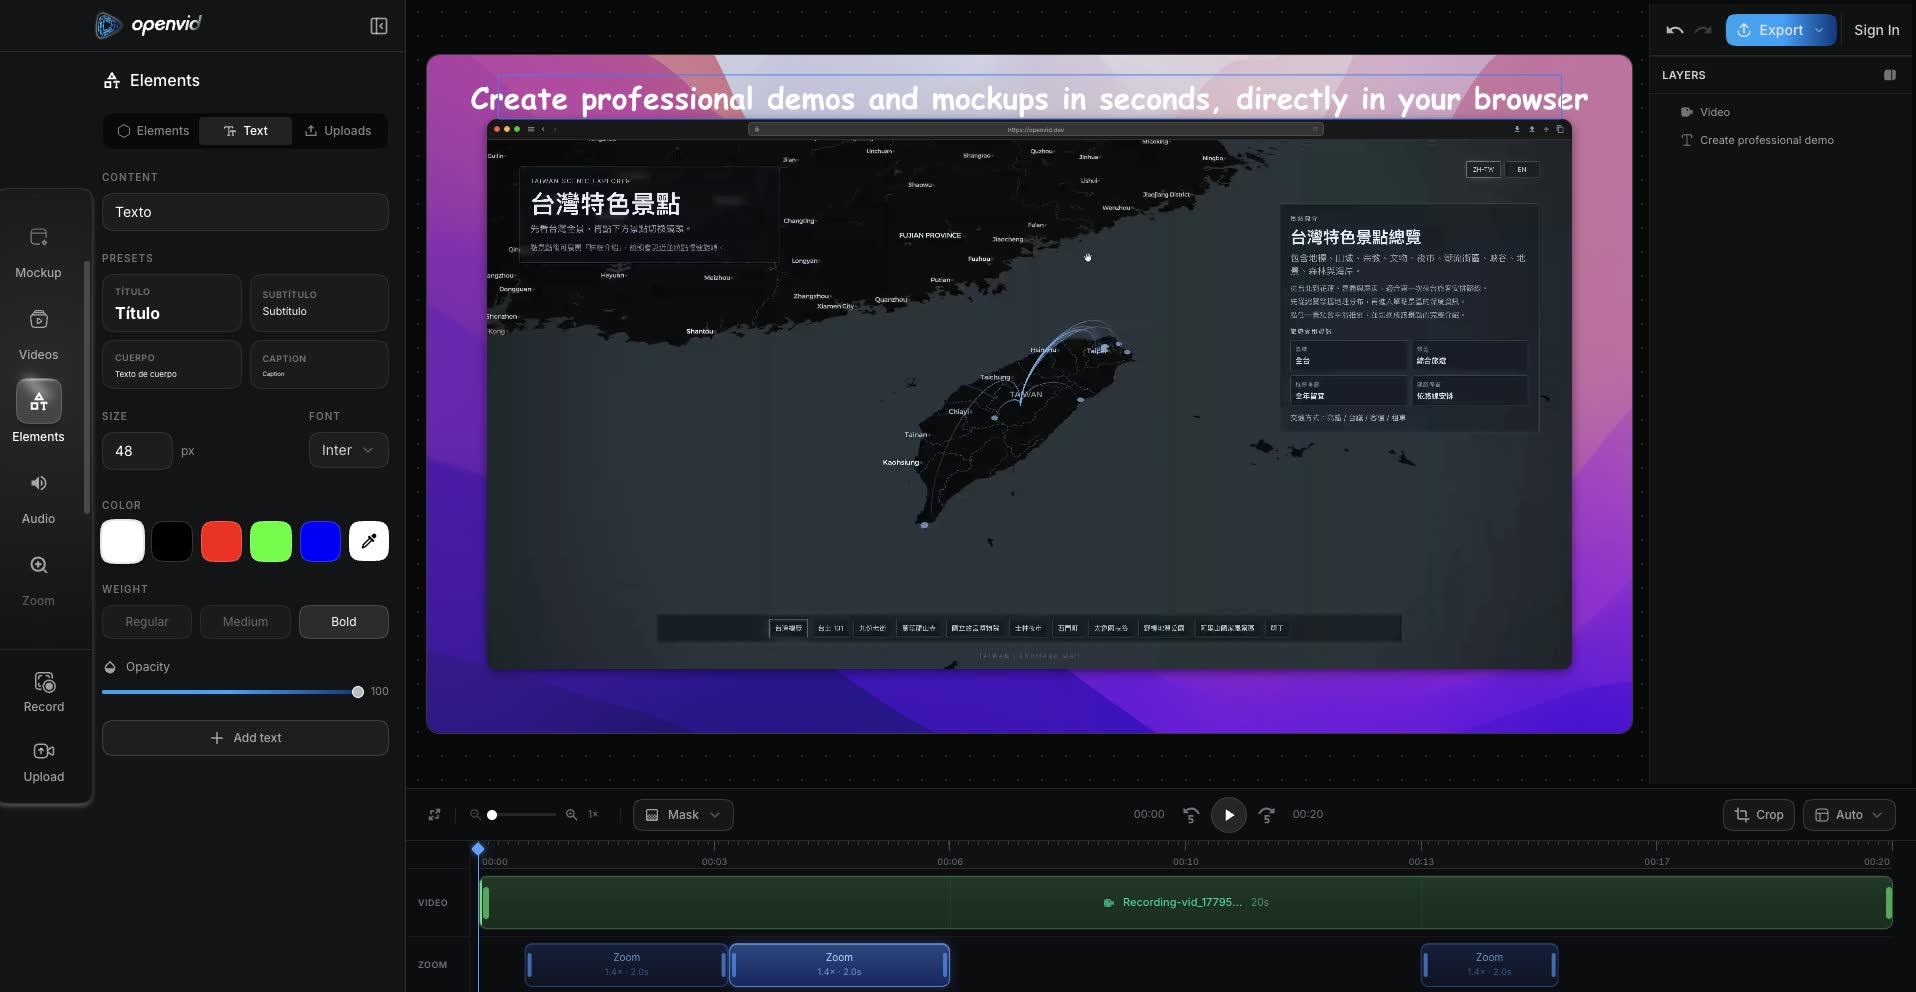
OpenVid web editor interface and feature preview
Recording Output Preview
Here is a demo video I recorded and exported with OpenVid. You can see how smoothly it handles auto-following, zooming, and background shadows:
Actual OpenVid recording output preview
Online Use and Local Deployment
Use Online Without Installation
If you just need to make a video quickly, you can use the official online editor directly:
Open the OpenVid online editor
Local Installation and Deployment
OpenVid is built with Next.js, TypeScript, and Supabase, and uses WebAssembly technology (FFmpeg.wasm) to process videos locally in the browser. If you want to run it locally or do secondary development, you can install it with the steps below:
1. Clone the Project Repository
git clone https://github.com/CristianOlivera1/openvid.git
cd openvid
2. Install Package Dependencies
You can install the dependencies with pnpm:
pnpm install
3. Configure Environment Variables
Copy the environment variable template file, then fill in your Supabase credentials as needed to enable cloud backup and authentication:
cp .env.example .env
4. Start the Local Development Server
pnpm dev
After it starts, open http://localhost:3000 in your browser to begin using it locally.
Core Features
OpenVid provides quite a few features, giving you a lot of freedom when designing demo videos:
| Feature Category | Supported Items | Technical Details and Notes |
|---|---|---|
| Video Input | Screen recording or local video upload | Supports drag-and-drop uploads for MP4, WebM, MOV, and MKV formats |
| Device Frames | Browser and mobile device mockups | Professional frames for Safari, Chrome, Arc, Samsung, and more |
| 3D Camera | 3D spatial perspective transforms | Supports X/Y-axis rotation, tilt, and perspective adjustment |
| Dynamic Zoom | Timeline keyframes (Zoom) | Add smooth zoom-in and zoom-out shots at any point on the timeline |
| Visual Backgrounds | 100+ built-in backgrounds and effects | Supports solid colors, gradients, custom images, Unsplash, and background blur |
| Canvas Overlays | Multi-layer element editing | Supports adding text, shapes, SVGs, and images, with layer order control |
| Export Formats | High-resolution multi-format export | Supports 4K/2K/1080p export as MP4, WebM, or GIF |
Personal Notes
After using quite a few screen recording and demo post-production tools, I found OpenVid’s experience genuinely impressive.
The best part is privacy and security. Because it combines the Canvas API with FFmpeg.wasm, all video recording, editing, 3D rendering, and final export happen locally in your browser. Your video data is not uploaded to any third-party server. For developers who need to show internal systems or sensitive data, this is reassuring.
That said, this also means FFmpeg.wasm can consume a fair amount of memory and CPU when exporting high-resolution videos such as 4K. For demos, I recommend keeping video length between 10 and 30 seconds. This makes export faster and usually works better for sharing as well.
Small suggestion: If your video does not need a transparent background, MP4 gives you the best compatibility when exporting. If you need a transparent background, you can use WebM instead.
Related Links:
This hands-on test and installation guide is based on the open-source version of OpenVid. All processing is completed locally in the browser.