

VHS Hands-On: Turn Terminal Recordings into Replayable Code
Charmbracelet VHS uses .tape scripts to control terminal input, pauses, themes, dimensions, and output formats. I used a 662-byte Tape to generate a 16.92-second bilingual demo and extracted a PNG screenshot from the MP4.
Introduction
When writing CLI tools or tutorials, I often need to record a terminal session. Recording it manually is not difficult. The annoying part is that after changing a single command, I have to redo the cursor position, typing speed, window size, and pause timing all over again.
VHS takes a straightforward approach: write the entire terminal demo in a .tape file, then let the program follow the script to type commands, press Enter, wait for the results, and export the video. This means the recording can live in Git. When a command changes, I can simply run the script again instead of relying on my typing speed to rerecord everything.
For this test, I wrote a 662-byte Tape and used it to generate a 16.92-second, 1280×720 MP4 of about 126 KB. The demo mixes Chinese and English, and the result below was recorded entirely by VHS.
Installing VHS
On macOS or Linux with Homebrew, run:
brew install vhs
VHS requires ttyd and ffmpeg at runtime. For this test, I installed v0.11.0 through Homebrew on macOS. The package manager also installed the missing ttyd dependency, so I did not have to track it down separately.
On Windows, you can use winget install charmbracelet.vhs or Scoop. Debian, RPM, Arch, and Nix packages are also available for Linux. If you do not want to deal with local dependencies at all, the official Docker image includes them. The latest files for each platform can be downloaded directly from VHS Releases.
After installation, check the version:
vhs --version
Common Commands at a Glance
These commands are enough to get started:
| Command | Purpose |
|---|---|
vhs demo.tape | Run a Tape and generate the video specified in the script |
vhs new demo.tape | Create a Tape containing examples and comments |
vhs record > demo.tape | Record an actual session and save it as an editable Tape |
vhs validate demo.tape | Validate the syntax without recording |
vhs themes | List the available terminal themes |
vhs publish demo.gif | Upload a GIF to vhs.charm.sh and get a shareable URL |
vhs <command> --help | View all options for a command |
The commands you will see most often in a Tape are Output, Set, Type, Enter, Sleep, and Wait. The script below covers the basic recording workflow. For other keys, hidden commands, waiting for text, and advanced settings, see the VHS source repository.
A Tape Is a Terminal Storyboard
Here is the complete script used in this test:
Output vhs-demo.mp4

Set Shell "bash"
Set FontSize 24
Set Width 1280
Set Height 720
Set TypingSpeed 35ms
Set Theme "Catppuccin Mocha"
Set Padding 28
Set Margin 24
Set MarginFill "#181825"
Set BorderRadius 12
Set WindowBar Colorful
Set CursorBlink false

Type "clear"
Enter
Sleep 500ms

Type "echo '你好,VHS!Hello from the terminal.'"
Enter
Sleep 1s

Type "echo '環境檢查 / Checking environment'"
Enter
Sleep 700ms

Type "echo '狀態正常 / Status: OK'"
Enter
Sleep 700ms

Type "echo '產生影片 / Rendering video'"
Enter
Sleep 700ms

Type "echo '輸出完成 / Export: DONE'"
Enter
Sleep 700ms

Type "echo '完成!Demo is ready.'"
Enter
Sleep 3s
Set fixes the frame dimensions, font, theme, typing speed, and border settings. Type simulates typing, Enter submits a command, and Sleep gives viewers time to read the result. This demo deliberately mixes Chinese and English, and VHS can type and display both directly from the script.
The example syntax included with the v0.11.0 version I installed only listed GIF, MP4, and WebM output, so I extracted the static image in this article directly from the finished MP4. VHS already requires ffmpeg, so there is no need to install another screenshot tool:
ffmpeg -ss 16.4 -i vhs-demo.mp4 -frames:v 1 vhs-demo.png
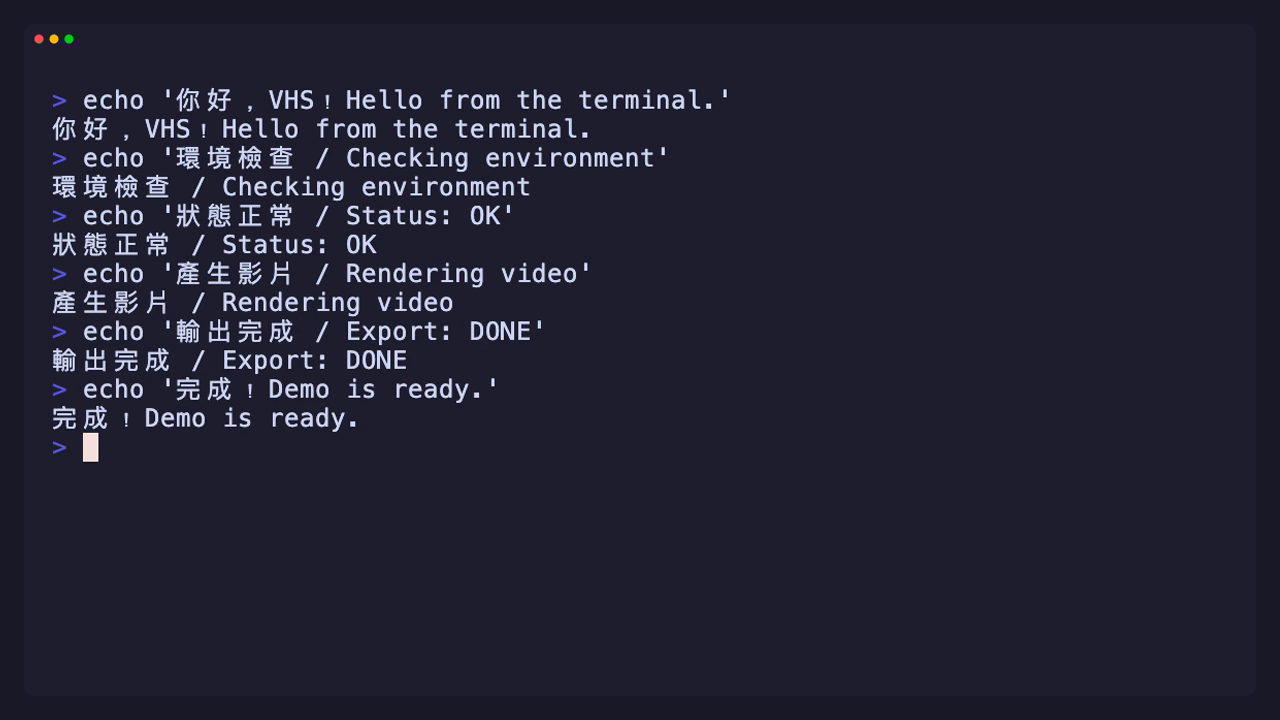
This PNG was extracted from the bilingual VHS demo above
Regenerate the Entire Demo with One Command
Switch to the directory containing the .tape file and run:
vhs vhs-demo.tape
VHS opens a virtual terminal, performs every action in sequence, and writes the result to the location specified by Output. A single Tape can contain multiple Output commands. VHS officially supports GIF, MP4, and WebM, and it can also export every frame as a PNG sequence.
If you do not want to start with an empty file, run vhs new demo.tape to generate an example. You can also use vhs record > demo.tape to record yourself working in the terminal, then clean up the automatically generated Tape afterward.
How Is It Better Than Screen Recording?
VHS is best suited to CLI demos that change repeatedly. If a README command changes, the output text is updated, or the window dimensions need to be adjusted, you only have to edit the Tape and run it again. The recording settings are version-controlled alongside the project, and other people can reproduce the result in the same environment.
It also fits well into automated workflows. For example, after releasing a new CLI version, you can rerun the Tape so the demos in the documentation are updated too. Wait can pause until specific text appears on the screen, which works better than sleeping for a fixed number of seconds when a command has an unpredictable completion time.
That said, VHS does not make every recording completely identical. Differences in the versions of programs called by the Tape, network responses, fonts, and operating systems can still change what appears on screen. Operations requiring accounts, passwords, or API keys should not be written directly into the script either. My approach is to keep demos dependent only on public, reproducible commands and leave all sensitive configuration out of the recording.
I’ll Use It for Future CLI Tutorials
What stood out most in this test was not the ability to give the terminal a nice theme, but that the recording itself became an editable text file. A 662-byte Tape generated the complete video, and one ffmpeg command extracted the static image. When the article needs a new recording, I only have to rerun those two commands.
I will still use screen recording for regular app workflows. But whenever the content happens entirely in the terminal, I will start by writing a Tape. At least I will no longer have to rerecord the previous dozen seconds because of a typo in the final line.