AppPorts Hands-on: Move Large Mac Apps to an External Drive and Still Launch Them Like Before
I tested AppPorts on macOS for moving applications to an external SSD, including downloading from GitHub Releases, removing Gatekeeper quarantine, switching languages, locked and unlocked migration, and what it feels like after the move.
Introduction
I have been cleaning up my Mac's internal storage recently, and I realized the most awkward part is not photos or videos. It is the apps I still use from time to time, but each one takes up several GB on its own. Development tools, design tools, browser-related tools: they sit one by one in /Applications, and while it does not look like much at first, they quickly eat up a large chunk of the internal SSD.
This time I tested AppPorts. It is an application migration tool made specifically for macOS. It can move large apps from /Applications to an external hard drive, SSD, SD Card, or NAS, while keeping a tiny launcher shell in the original location. To macOS, the app still appears to be on the local machine; but the actual space-consuming app bundle has already been moved to external storage.
In my own test, I moved several apps to an external SSD. The result was smoother than I expected. Migration was fast, and after moving the apps, launching them from Launchpad, Finder, or my usual workflow felt basically the same as if the apps were still in their original location.
- AppPorts GitHub repository
- AppPorts Releases download page
- AppPorts official documentation
- AppPorts official website
Start by Downloading from GitHub Releases
Downloading AppPorts is straightforward: go to GitHub Releases, find the latest version, scroll down to Assets, and download the .dmg file.
At the time I wrote this article, on 2026-07-01, the latest version on GitHub Releases was v1.7.1, released on 2026-06-24. This version added custom local scan directories, which is friendlier for tools like JetBrains Toolbox and Steam that do not always place apps under /Applications. It also added Stub Portal version synchronization and scanning performance improvements.
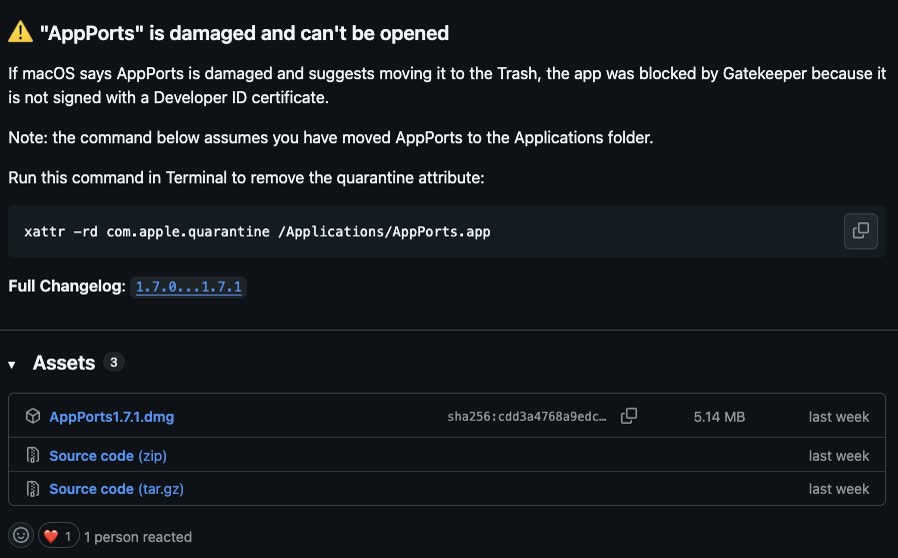
Download the AppPorts DMG from Assets on GitHub Releases
After the download finishes, open the .dmg and drag AppPorts into Applications. This step is the same as a normal macOS app installation. Nothing especially complicated here.
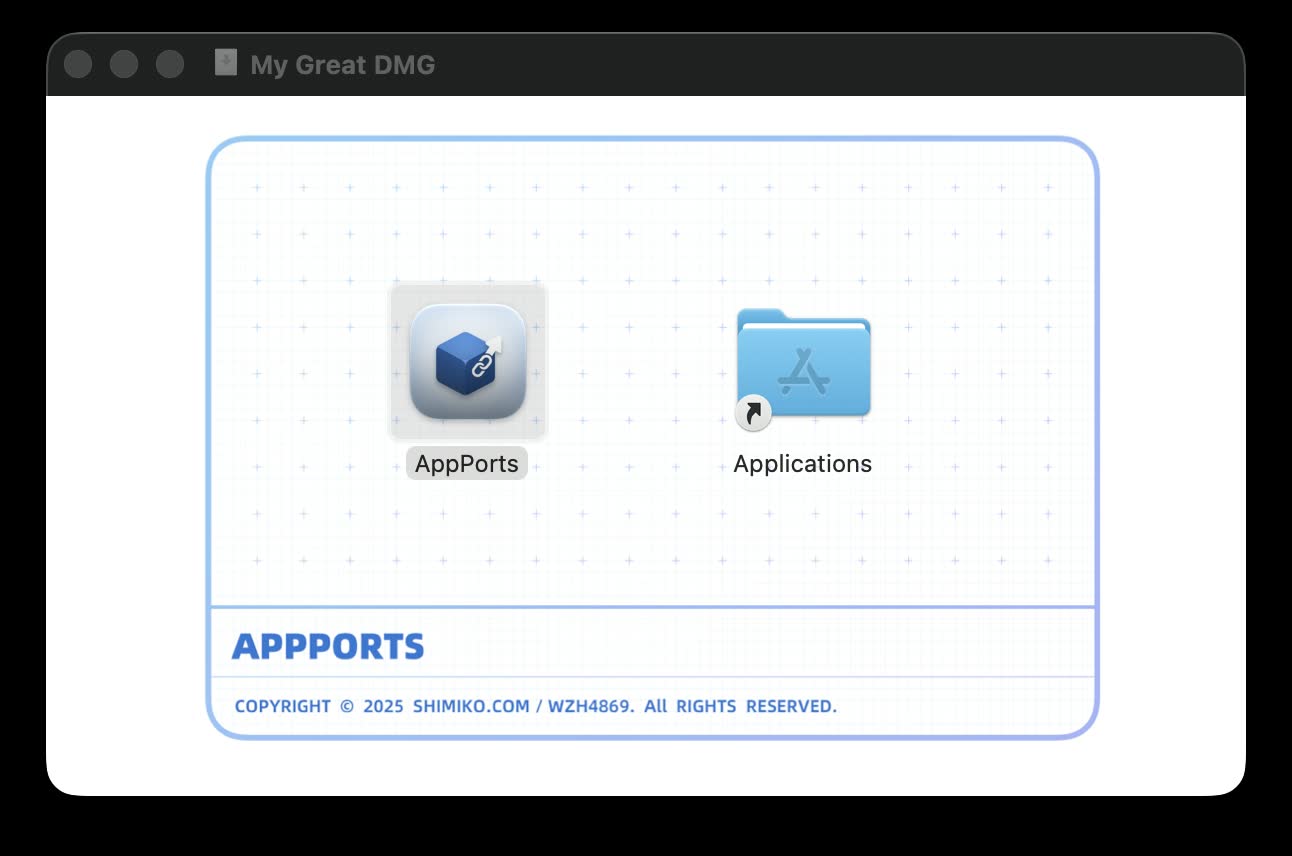
After opening the DMG, drag AppPorts into Applications
macOS May Block It the First Time You Open It
The first time I opened it, macOS showed a message like "AppPorts is damaged and can't be opened." This was not because the file was actually broken. It happened because AppPorts is not signed with an Apple Developer ID, so Gatekeeper blocked it.
The official README and release notes both include the fix. First, make sure you have already placed AppPorts in /Applications, then run this in Terminal:
xattr -rd com.apple.quarantine /Applications/AppPorts.app
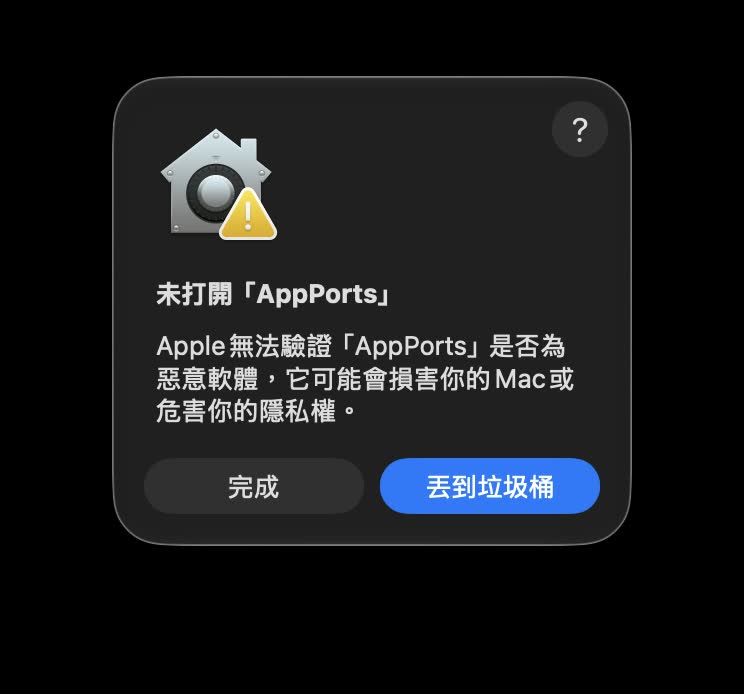
If macOS blocks AppPorts, remove the quarantine attribute first
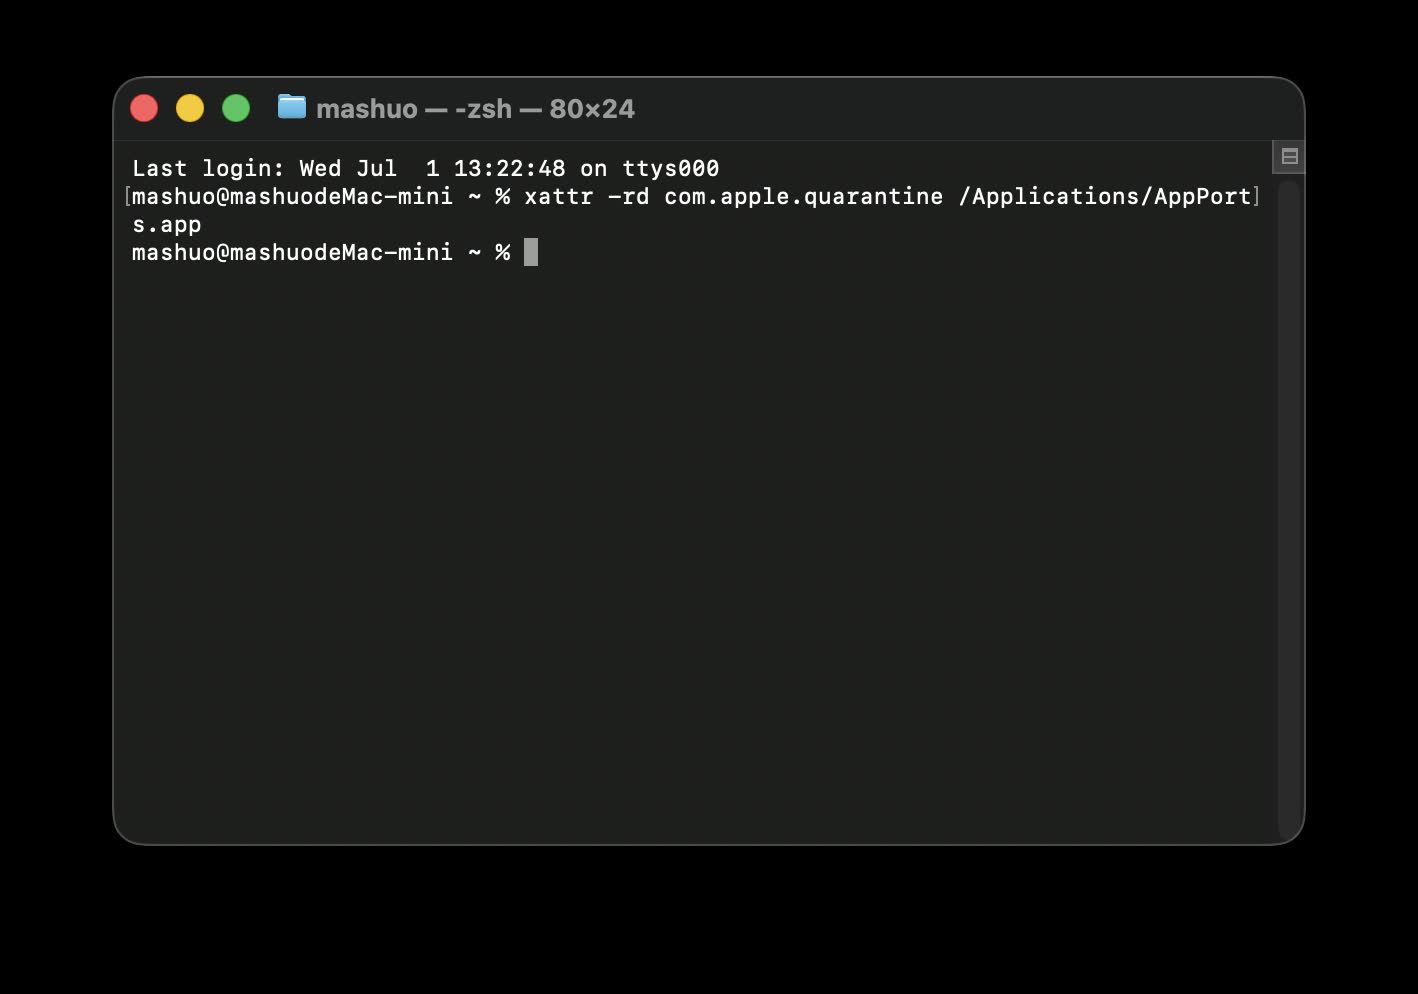
Run the official xattr command in Terminal, then open AppPorts again
I want to call this out specifically: if you did not download it from the official GitHub Releases page, do not casually run this kind of quarantine-removal command on an app from an unknown source. The command itself is not mysterious, but it is effectively telling macOS not to block this app with the quarantine flag anymore, so you should confirm the source first.
Switch Language and Grant Permissions First
After removing the Gatekeeper quarantine and opening it again, AppPorts entered the main screen normally. The top-right corner of the interface lets you switch languages. For this test, I switched the UI to Chinese first, which made the early setup much easier to follow.
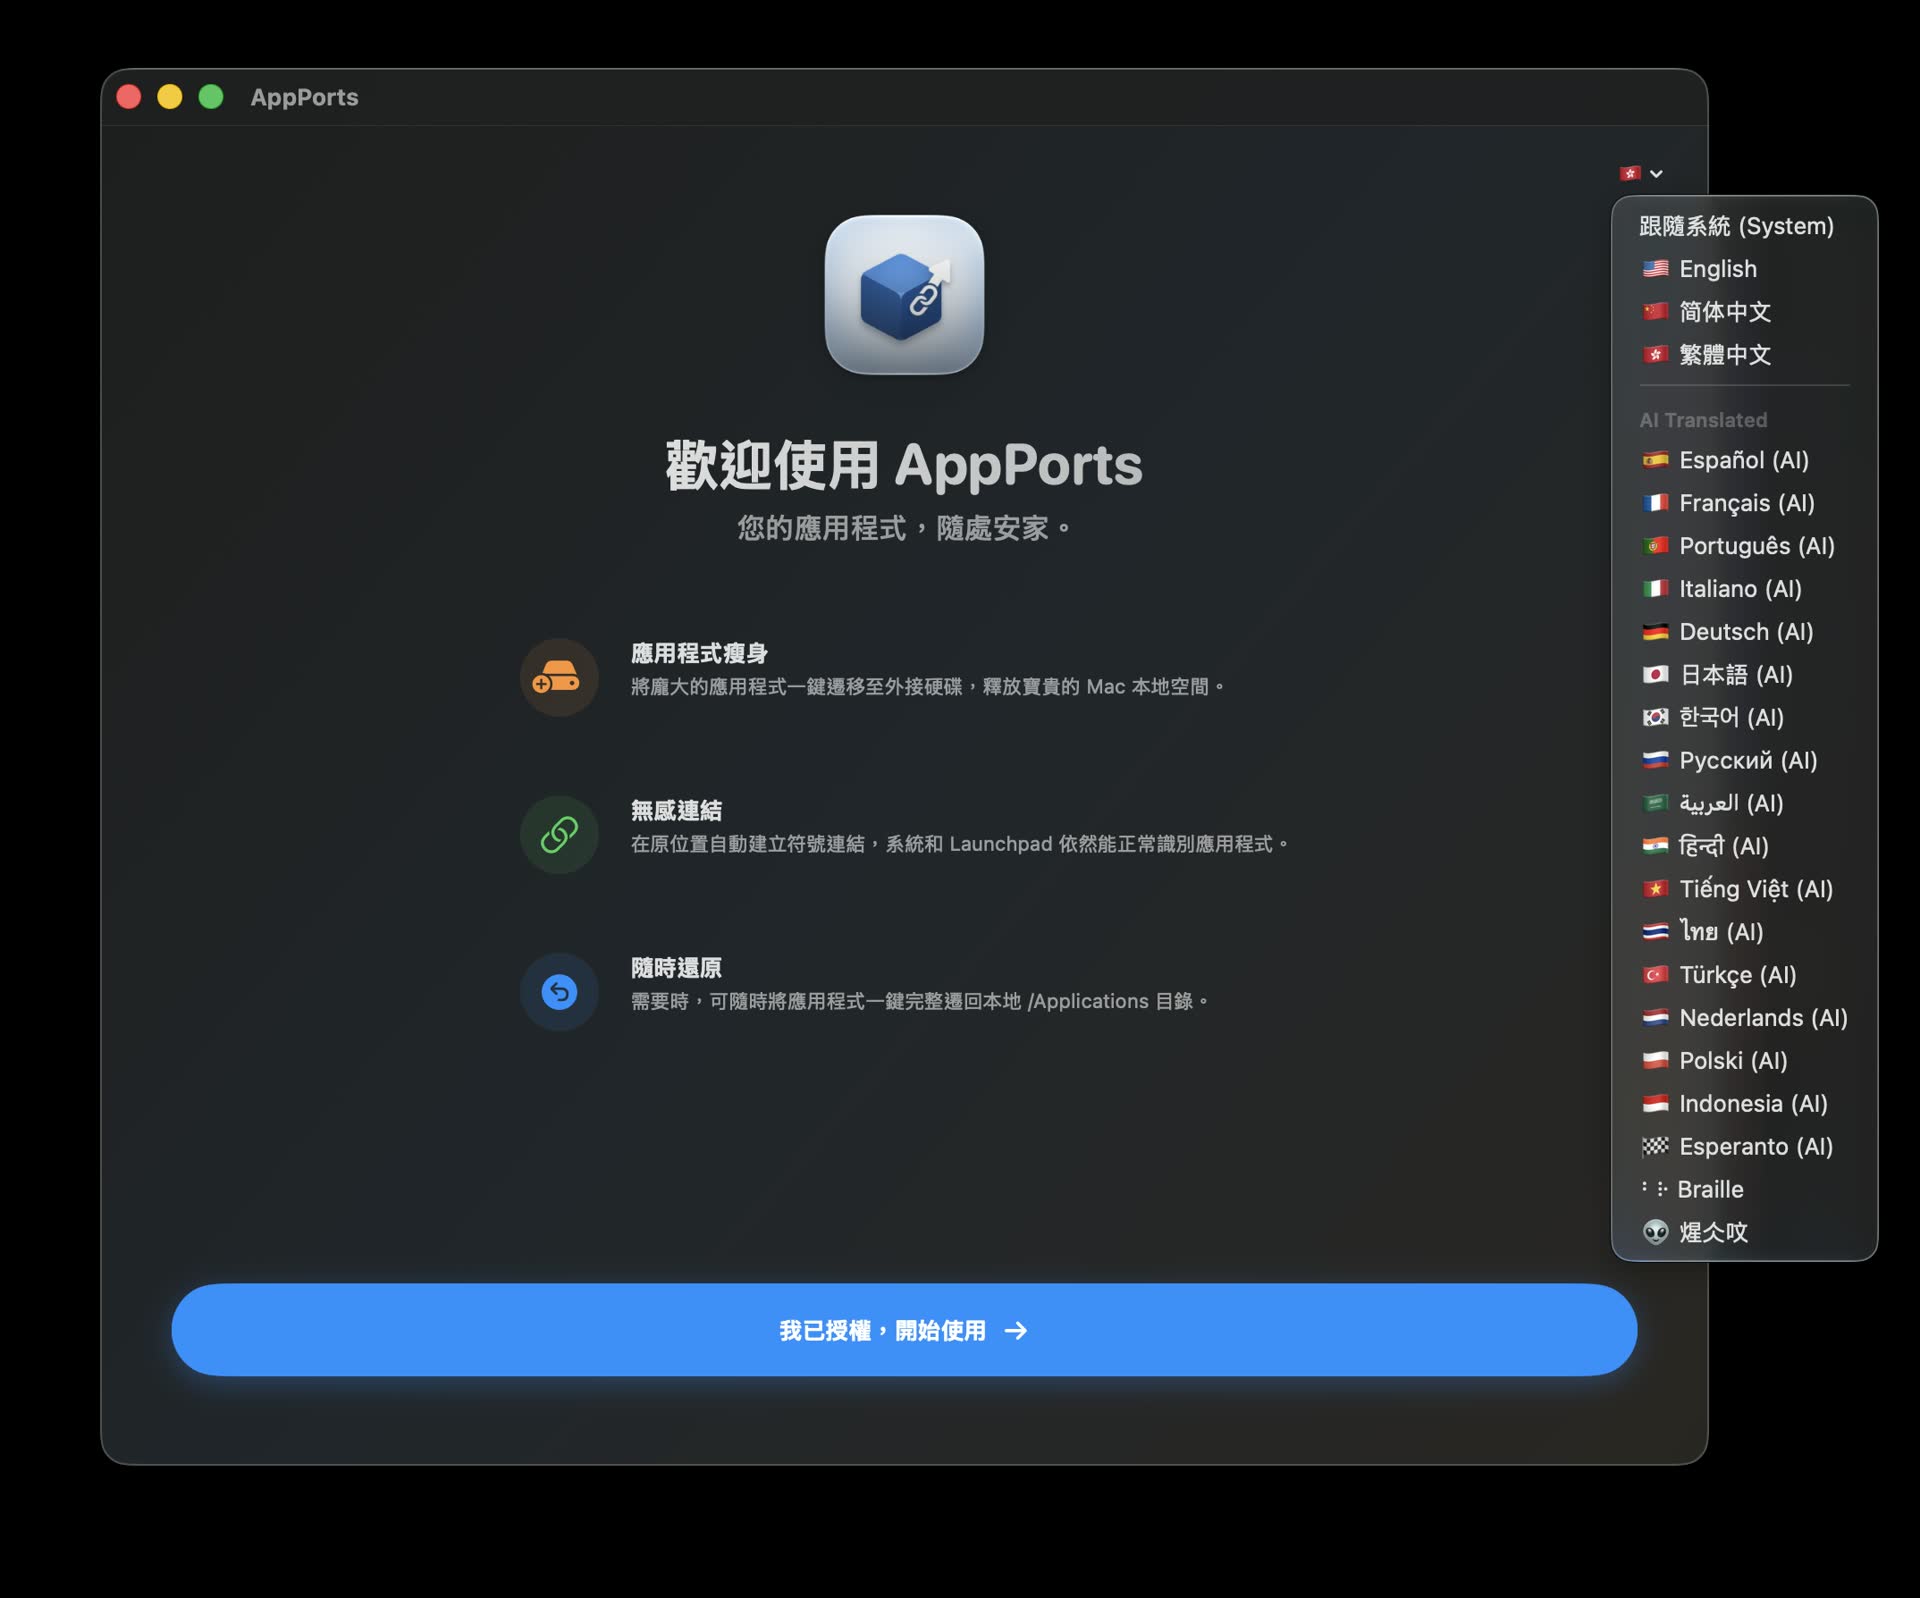
You can switch languages in the top-right corner, which makes the first run much easier
Because AppPorts needs to read and modify /Applications, you will usually also need to grant Full Disk Access before using it properly. The official documentation mentions this as well: go to Privacy & Security in System Settings, find Full Disk Access, add AppPorts and enable it, then restart AppPorts.
This step makes sense to me. It needs to move apps, create launcher shells, handle signing or restoration, and without enough permissions it can easily get stuck halfway. Instead of waiting for an error and then searching for the cause, it is better to grant the required permission during the first setup.
Choosing Between Locked and Unlocked Migration
The core AppPorts workflow is simple: choose an app, choose a target location on the external drive, then click migrate. It moves the real space-consuming app out, then leaves a Stub Portal in the original /Applications location.
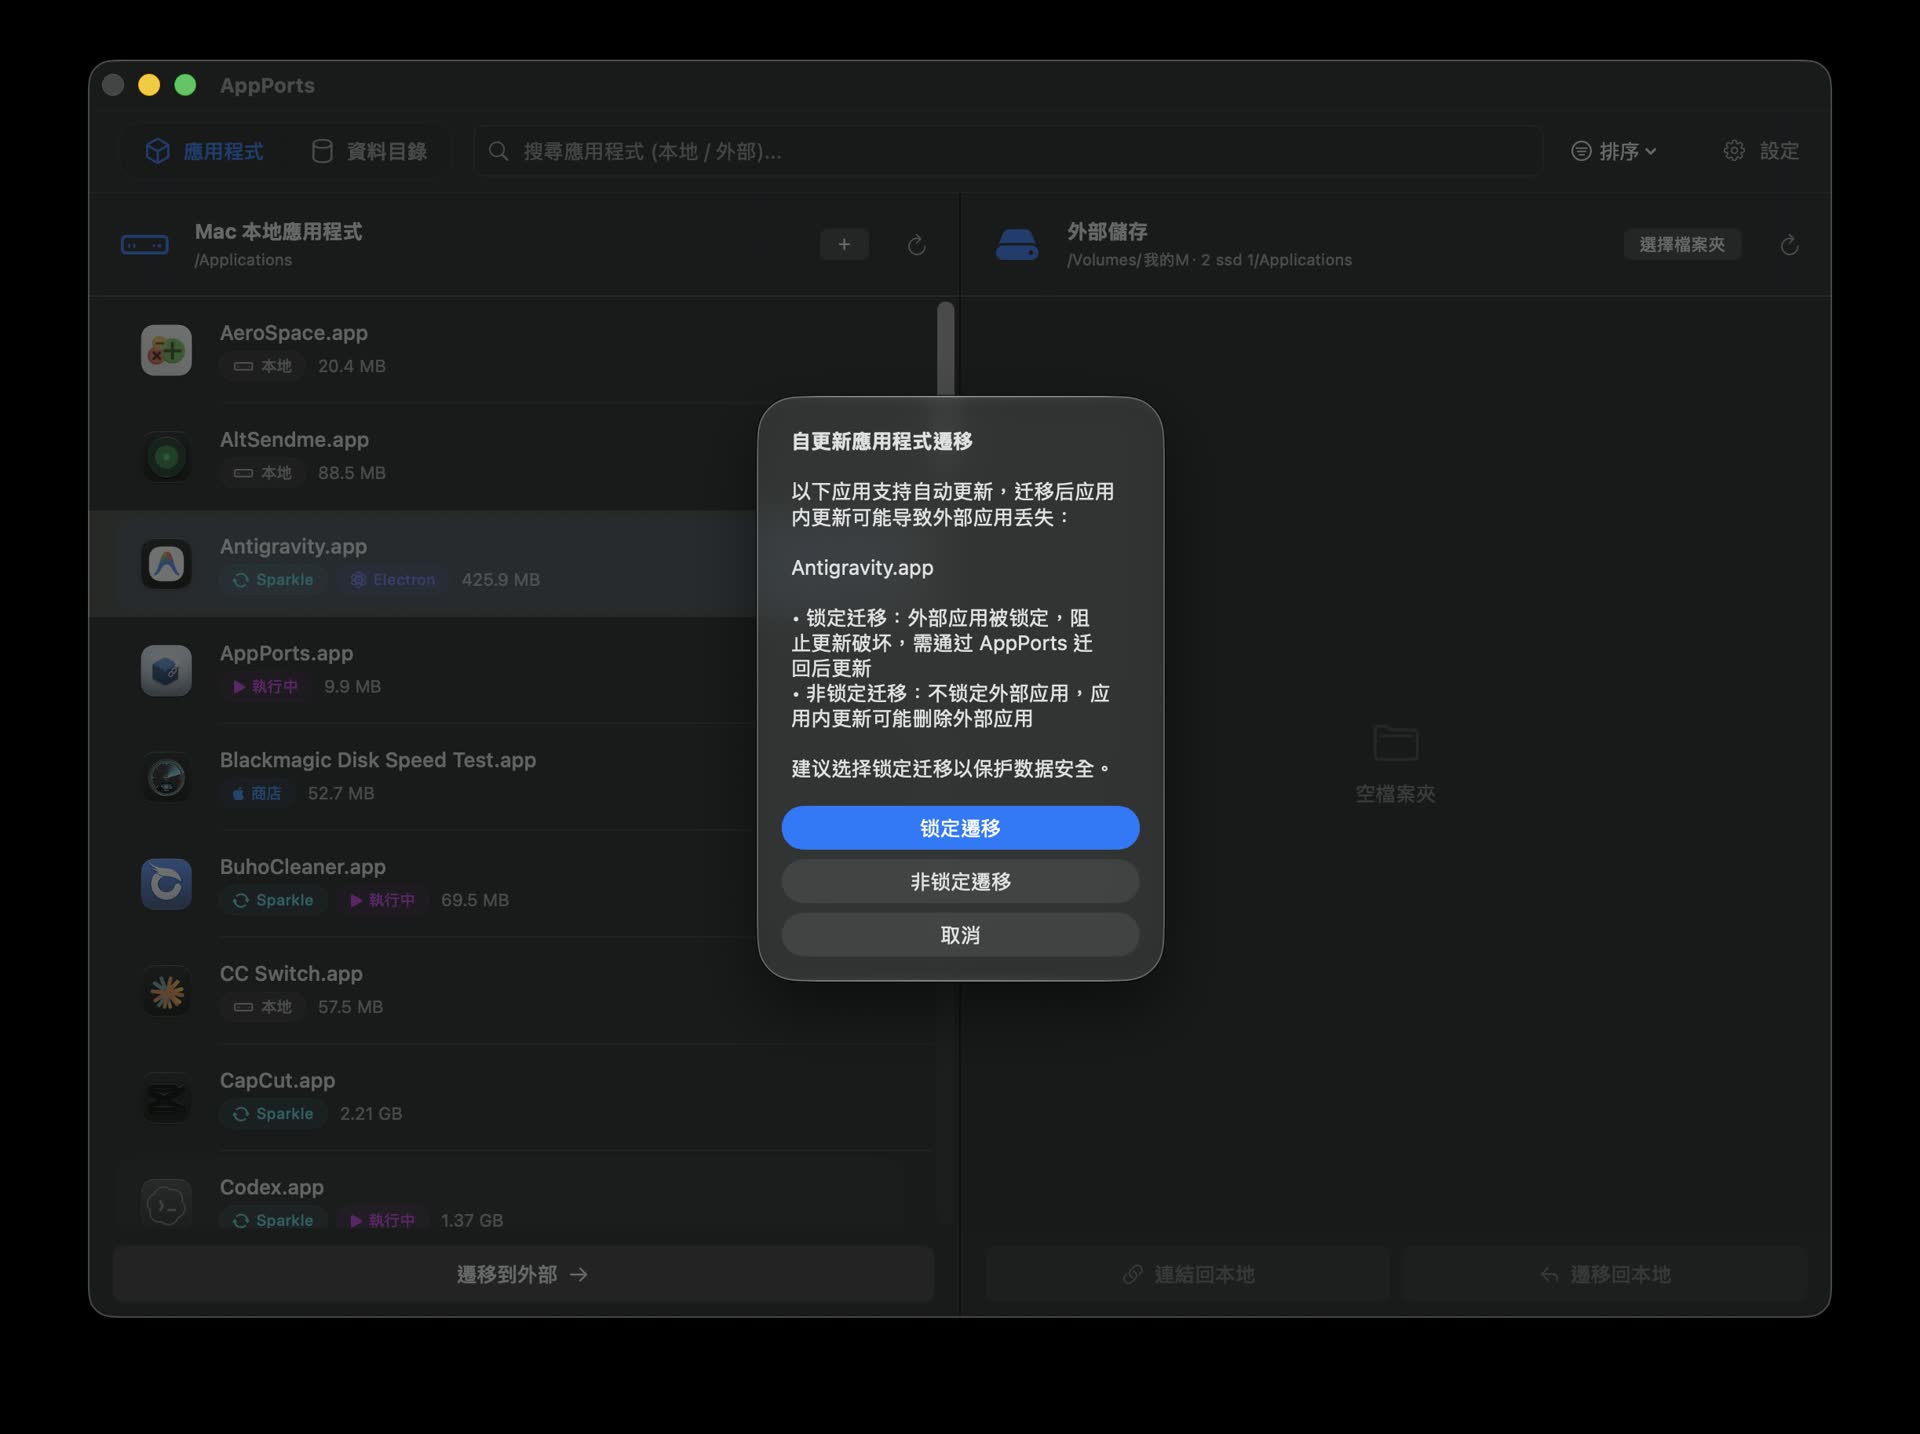
After choosing a location on the external drive, you can pick locked or unlocked migration
The part worth understanding here is locked migration versus unlocked migration.
My understanding is this: if an app updates itself, such as an Electron app, a Sparkle-updated app, or a browser-type tool, locked migration is safer. It protects the app bundle on the external drive and avoids cases where an auto-update process accidentally deletes or overwrites content stored externally.
Unlocked migration is more suitable for apps with simpler update logic, or apps where you already know how you will handle updates later. It does not apply the same level of protective restrictions, but that also means you need to understand what happens when that app updates.
In my own test, I did not treat it as a "move every app without thinking" tool. System apps, running apps, and apps that have already been linked are blocked by AppPorts anyway. For large suites like Office or Adobe, I would be more conservative and at least confirm their official installation and update behavior before deciding whether to move them.
What It Felt Like After Migration
The two things I cared about most were migration speed and the everyday launch experience after the move.
Migration speed depends on app size, external drive speed, connection interface, and file count. In my test with an external SSD, the apps I moved were all migrated quickly. I did not run into long stalls or anything that felt worrying. After the move, Finder still showed the app icons inside Applications, and unlike a traditional symlink, there was no arrow badge on the icon.
The launch experience was also more natural than I expected. To macOS, the app can still be launched from its original location. For me, I also did not need to change my existing habits. This is the part that makes AppPorts more appealing to me than simply moving apps manually or creating symlinks myself.
That said, I would still set one boundary for myself: when the external drive is unplugged, apps that depend on it should not be expected to launch normally. AppPorts has orphaned link detection and can warn you when an external app is missing, but that does not mean it can magically bring back a disk that is not there. If you move apps out, you have to accept that the external drive becomes part of your working environment.
It Does More Than Move Apps Away
What surprised me about AppPorts is that it is not just "move the app + create a symlink."
The official README mentions several design choices that I think matter:
- Stub Portal: keeps a small launcher shell locally, so the app still appears to be in its original location.
- No Finder arrow badge: unlike traditional symlinks, it looks closer to a native app visually.
- Launchpad and App Menu support: it is not just clickable in Finder; system-level launch entry points should also work normally.
- Auto-update protection: provides a locking strategy for self-updating apps such as Sparkle, Electron, and Chrome-type apps.
- Signing management: if you run into a damaged warning after migration, you can re-sign or restore the original signature.
- Orphaned link detection: when the external drive is missing or the app has been deleted, the list marks the problem.
- App data directory migration: besides the app bundle itself, it can also handle some
~/Libraryor tool data folders.
These all address the same underlying issue: a macOS app is not an ordinary folder, so you cannot only check whether the files were copied over. Launching, updates, signing, Launch Services, data directories: any layer can cause trouble. The value of AppPorts is that it packages these details into a more usable workflow.
How I Would Use It
If your internal SSD is large, or you do not have many apps, AppPorts may not be a must-install tool. But if you are like me, with limited built-in Mac storage and several large apps taking up space long-term, it is worth trying.
I would prioritize moving these kinds of apps:
- Apps that are large, but not used every day.
- Standalone apps that you download and drag into Applications.
- Apps that do not update frequently, or where manual update handling is acceptable.
- Games, development tools, and experimental tools where launch speed from an external SSD is still acceptable.
I would be more conservative with these:
- Built-in system apps.
- Large suites with complex installers and background services.
- Apps I definitely use every day after boot, and that must not break if the external drive is not connected.
- Apps that are not backed up yet, or where I am not sure where their data is stored.
In short, I would not treat AppPorts as a rescue tool. I would treat it as an organization tool that lets an external SSD officially become part of my Mac workflow. It can help save internal storage, but you still need to know which apps are suitable to move and which apps should stay local.
Closing Thoughts
My takeaway from testing AppPorts is this: it turns something that could be forced manually, but could also leave a lot of messy side effects, into a more complete macOS workflow.
What I like is not simply that it can move apps to an external drive. It is that after moving them, it still tries to preserve the original way of using them. Finder icons look normal, Launchpad works, and the app still feels local. Those details add up, and they are what make something worth using long term.
But I also would not recommend seeing the tool and immediately moving every app at once. Start with a few large, low-risk, re-downloadable apps. Confirm that the external SSD is stable, launches are normal, and the update workflow is acceptable, then expand gradually. Used this way, AppPorts is not just a small cleanup tool. It helps you define a clearer division of labor between your Mac's internal SSD and external storage.