Deskreen Same-Network Temporary Screen Sharing Hands-On: View Your Screen from a Phone or Another Computer
Deskreen lets you share your computer screen with a phone, tablet, or another computer on the same local network. This article records the actual workflow, suitable use cases, and notes about private IP addresses and privacy.
Introduction
This time I tested Deskreen Community Edition. Its positioning needs to be made clear first: it is not quite like RustDesk, which is a full remote desktop or cross-network screen sharing tool. You should not expect it to replace AnyDesk, Parsec, Zoom screen sharing, or an internal company meeting system.
Deskreen feels more like a small emergency tool. Suppose you are in the office and suddenly want to show your computer screen to someone next to you. If everyone is on the same Wi-Fi or the same local network, you can let the other person open a browser on a phone, tablet, or another computer and view your screen.
If you read the RustDesk article and felt that accounts, permissions, fixed passwords, and self-hosted servers were too heavy for your needs, and all you want is to view a screen inside the same Wi-Fi network, then Deskreen is closer to what you are looking for.
Another situation I think people will actually run into is an ad hoc presentation. For example, the computer connected to the projector does not have your slide deck, is not logged into your cloud drive, or simply does not have any screen sharing software installed. In that case, you can open Deskreen on your own laptop and let the other device enter the URL or scan the QR Code to quickly send the screen over.
What It Is Good For
I would treat Deskreen as “temporary screen sharing inside the same local network,” not as a remote collaboration tool.
Better suited for:
- Temporarily showing your screen to coworkers on the same office Wi-Fi.
- Viewing your computer screen from a phone or tablet for a short time.
- Giving an ad hoc presentation when another computer does not have your files but can open a browser.
- Quickly sharing your screen without logging into an account or installing a pile of meeting software.
Not as suitable for:
- Sharing your screen across cities or across different networks.
- Remotely controlling someone else’s computer.
- Enterprise-grade permission management, recording, or meeting room management.
- Using it long term as a stable second-screen solution.
If you only need a short demo, Deskreen’s flow is quite fast. But if you are doing serious remote work, a dedicated remote desktop or meeting tool will still be more stable.
Download and Installation
You can download the free Community Edition from GitHub:
If you need more advanced features, you can check Deskreen Pro on the official website:
I tested it on macOS this time. If what you download is a single executable file, macOS may show a “cannot verify developer” warning or open the file as a text file. This does not mean the file is broken. It is macOS Gatekeeper blocking an unsigned or non-notarized file.
Only remove the restriction if you are sure the source is the official GitHub release. Assuming the file is in your Downloads folder, you can handle it like this:
chmod +x /path/to/mac_krokiet_skia_vulkan_arm64
xattr -d com.apple.quarantine /path/to/mac_krokiet_skia_vulkan_arm64
/path/to/mac_krokiet_skia_vulkan_arm64
If you are not sure where the file came from, do not force it open. This kind of tool reads your screen, so the source must be verified.
Usage Flow
Deskreen’s flow is simple. After you start it on the computer, it gives you a QR Code and a connection URL. As long as the receiving device is on the same local network, it can usually connect through a browser.
1. The Computer Shows a QR Code
After opening Deskreen, the first thing you see is a QR Code. You can scan it with a phone or tablet, or copy the URL to another computer on the same local network.
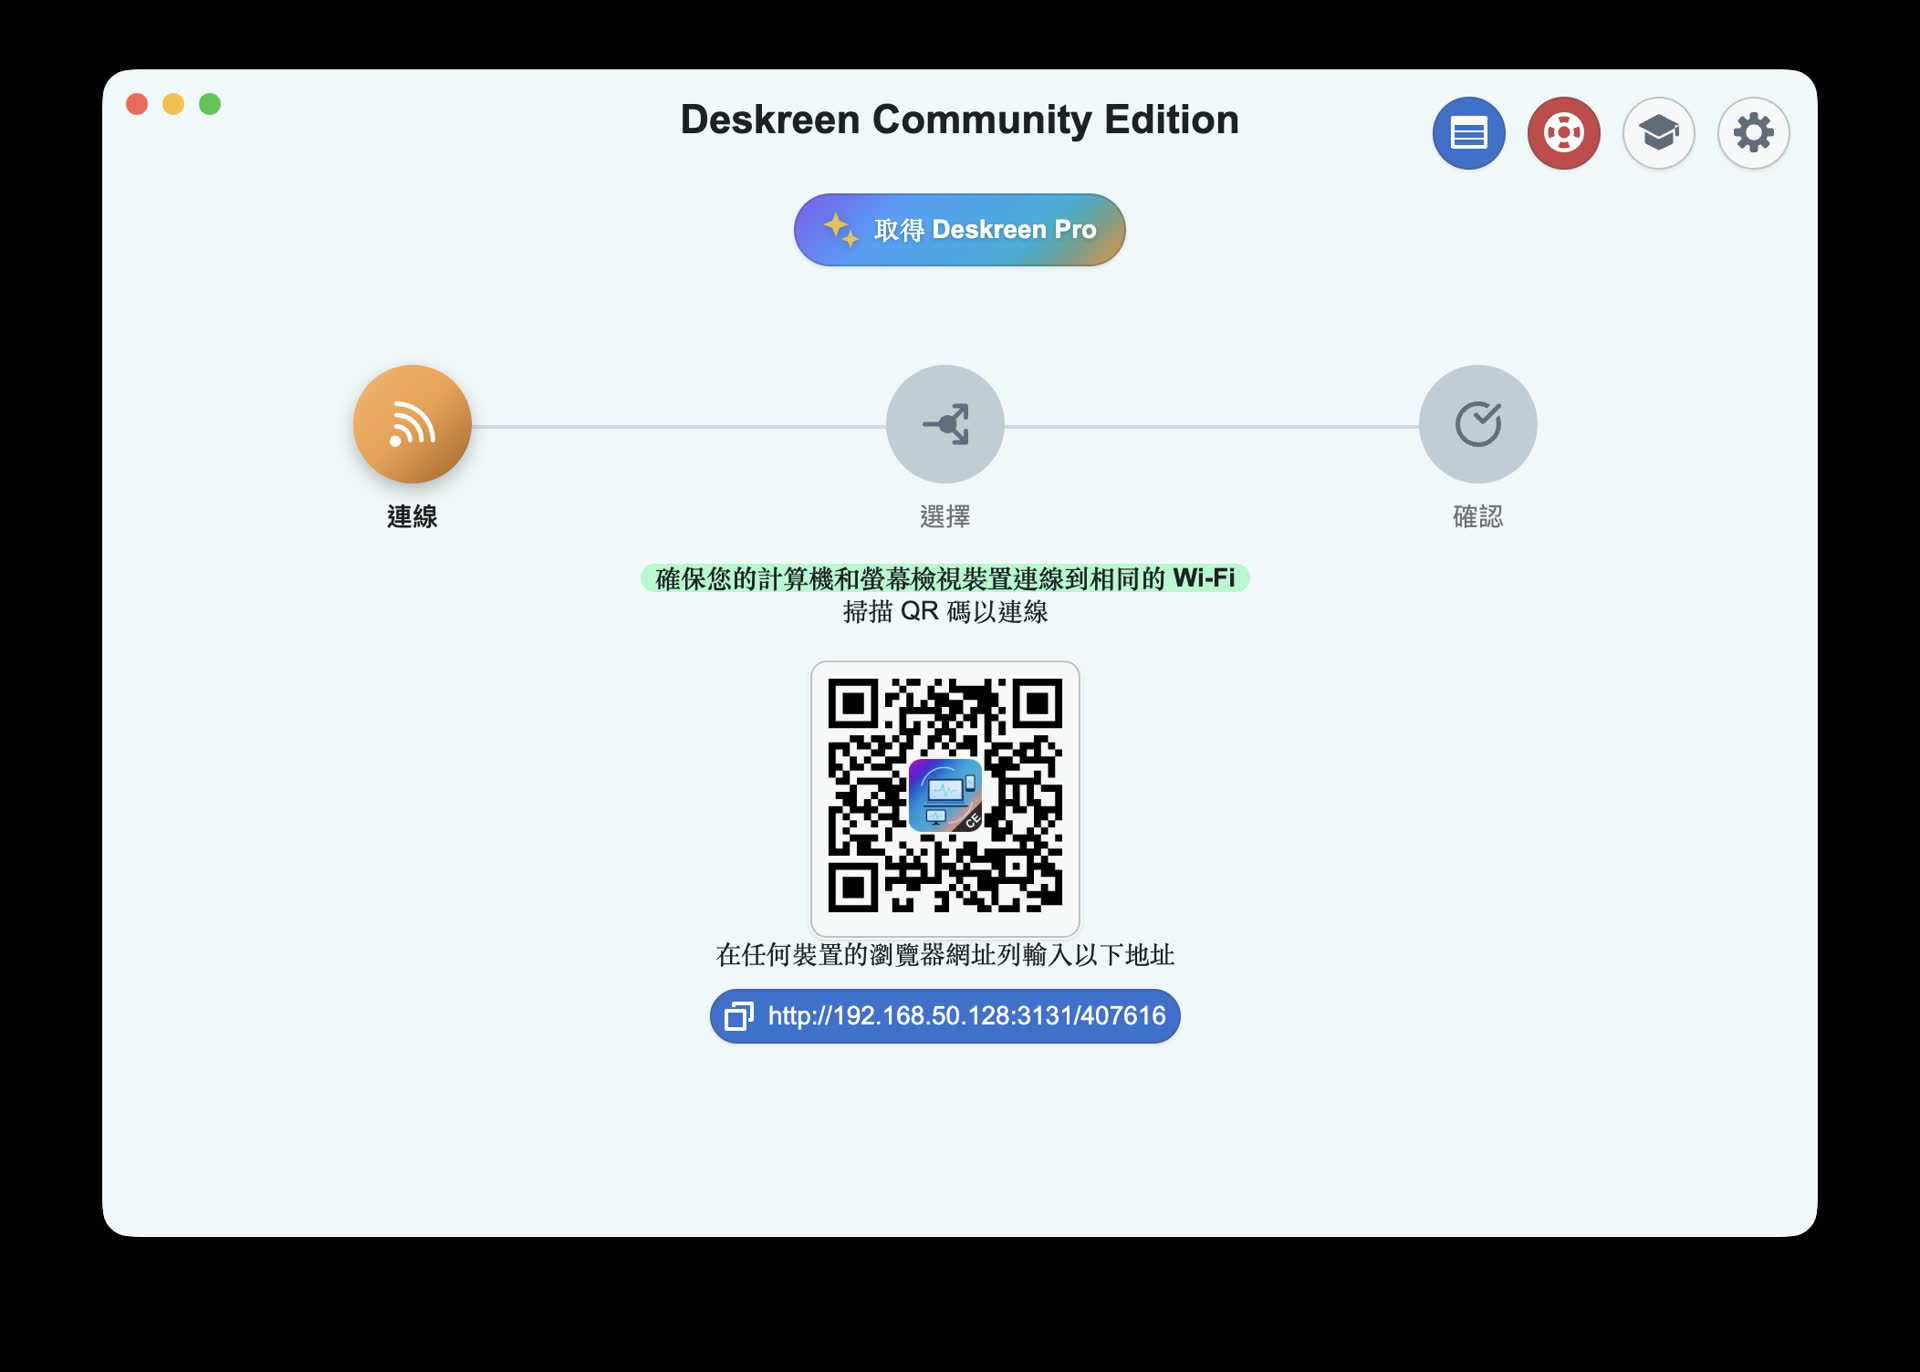
After Deskreen is opened on the computer, it provides a QR Code and connection URL
2. Choose the Screen to Share
Next, Deskreen lets you choose whether to share the entire screen or only a specific window.
For temporary demos, I would suggest choosing a single window first. This makes it less likely that desktop notifications, private messages, password managers, or other work data will be exposed along with everything else.
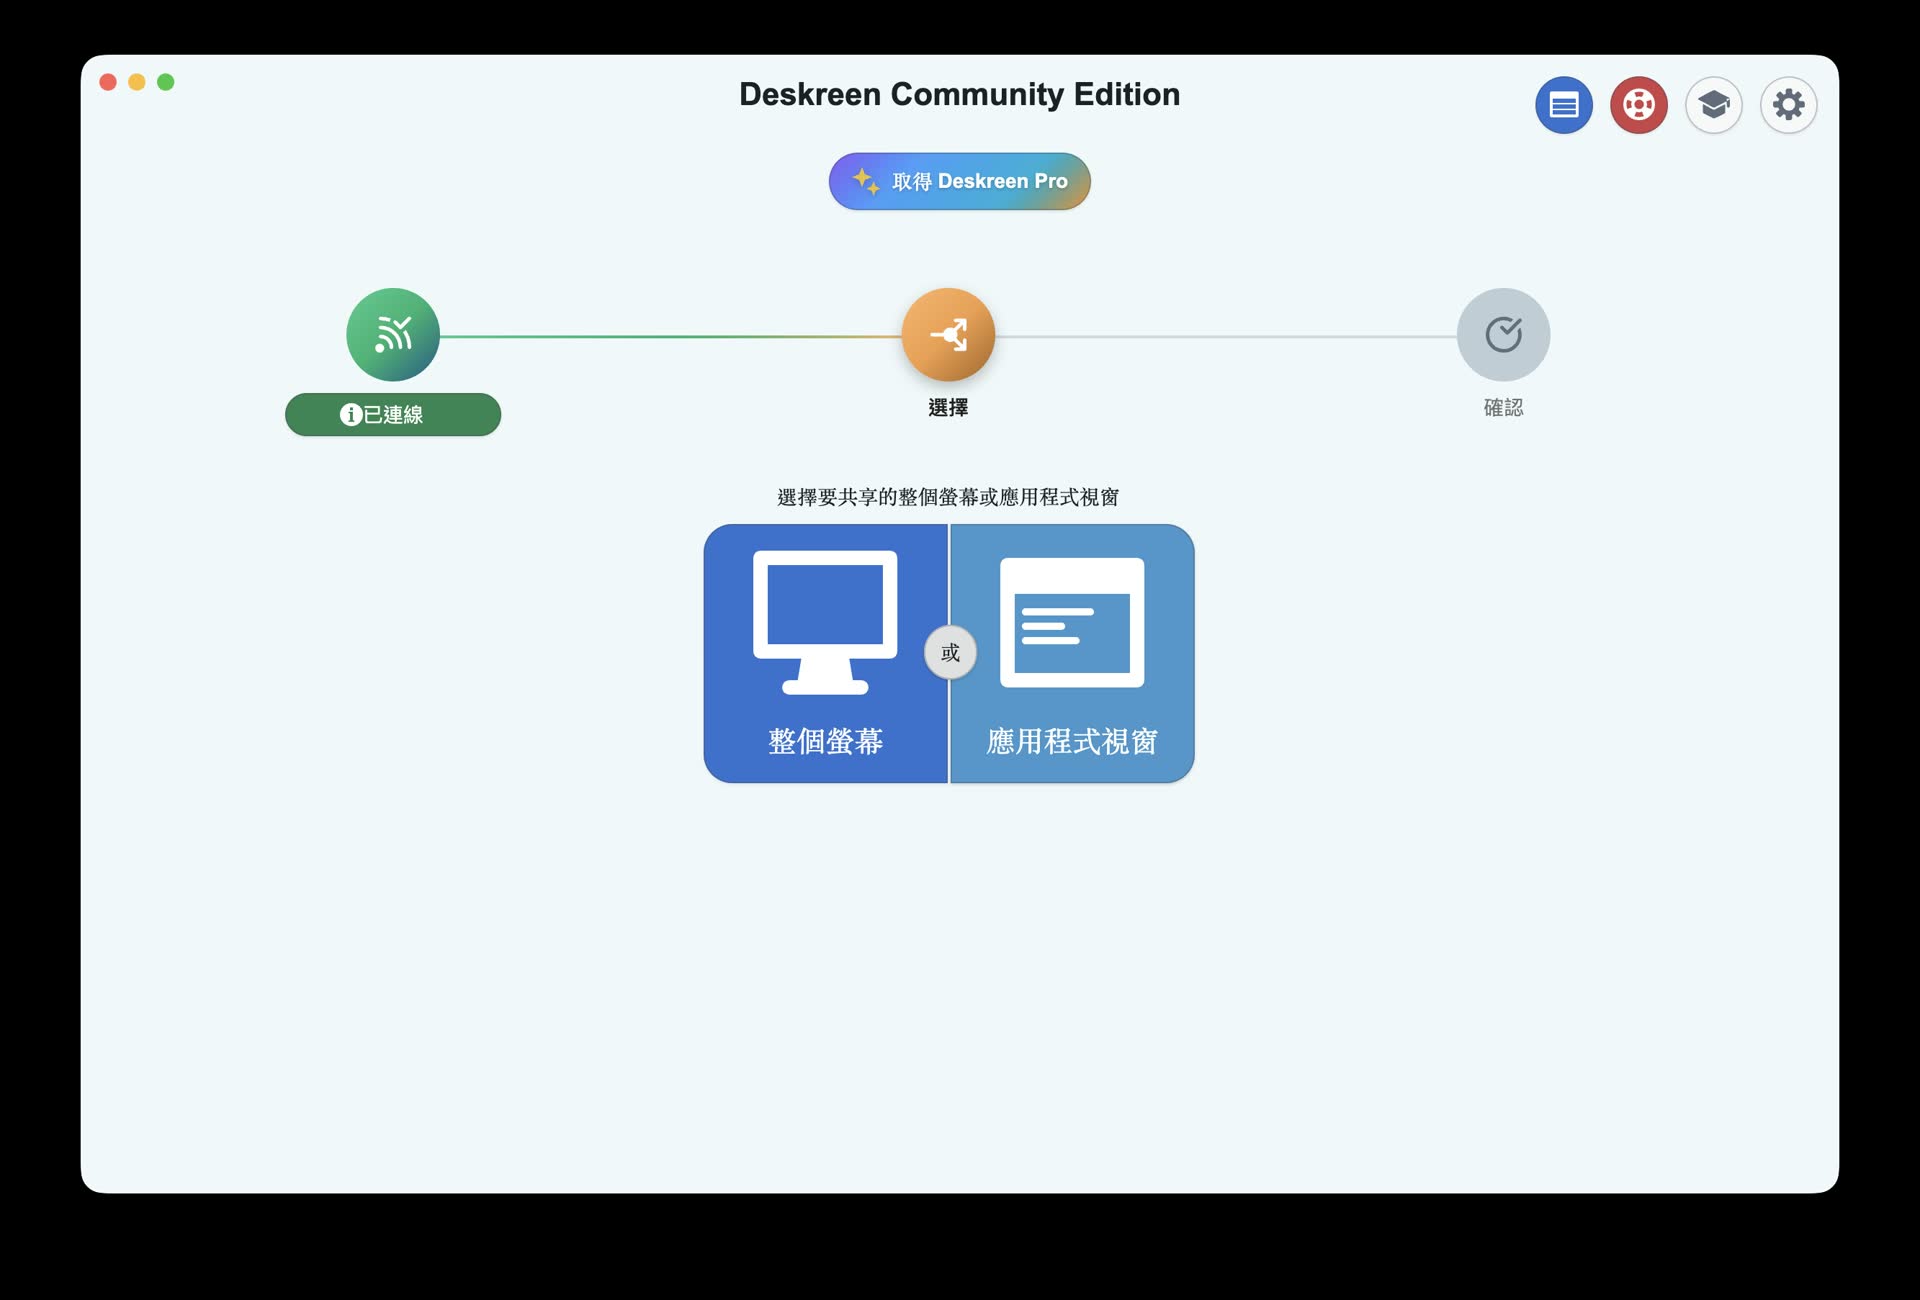
You can choose to share the entire screen or only a specified window
3. Confirm the Receiving Device
After choosing the screen, Deskreen asks you to confirm the receiving device information. This step is actually pretty important, because you need to make sure the device connecting is the person you want to share with, not some unknown device on the same Wi-Fi.
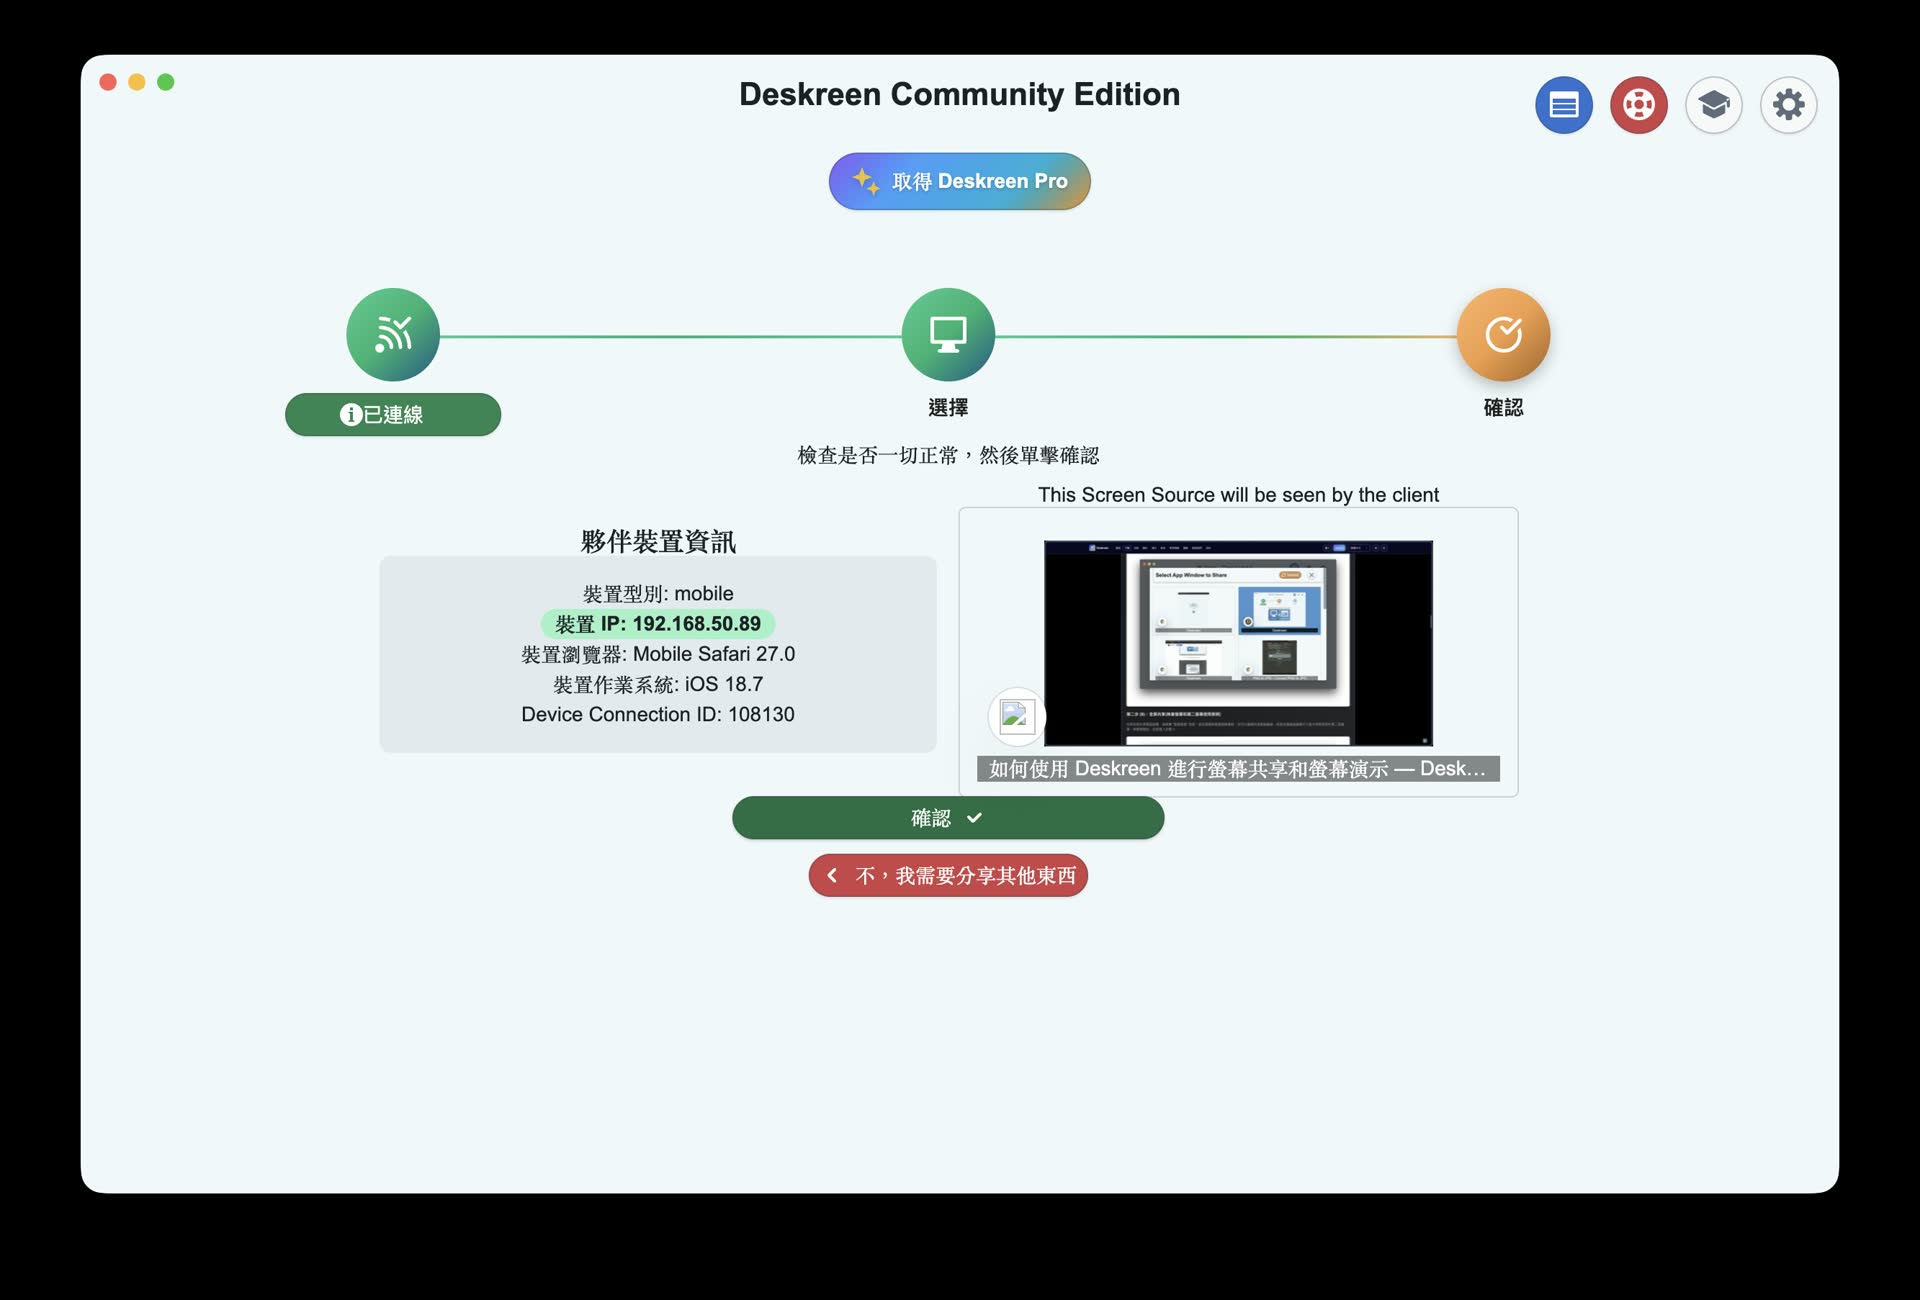
Before sharing, you will see the receiving device information. Confirm it looks right before pressing share
4. The Phone Shows the Computer Screen
After confirmation, the phone can view the computer screen directly in the browser. This time I used an iPhone to scan the QR Code on the computer side, and after connecting, I could see the screen I had just selected.
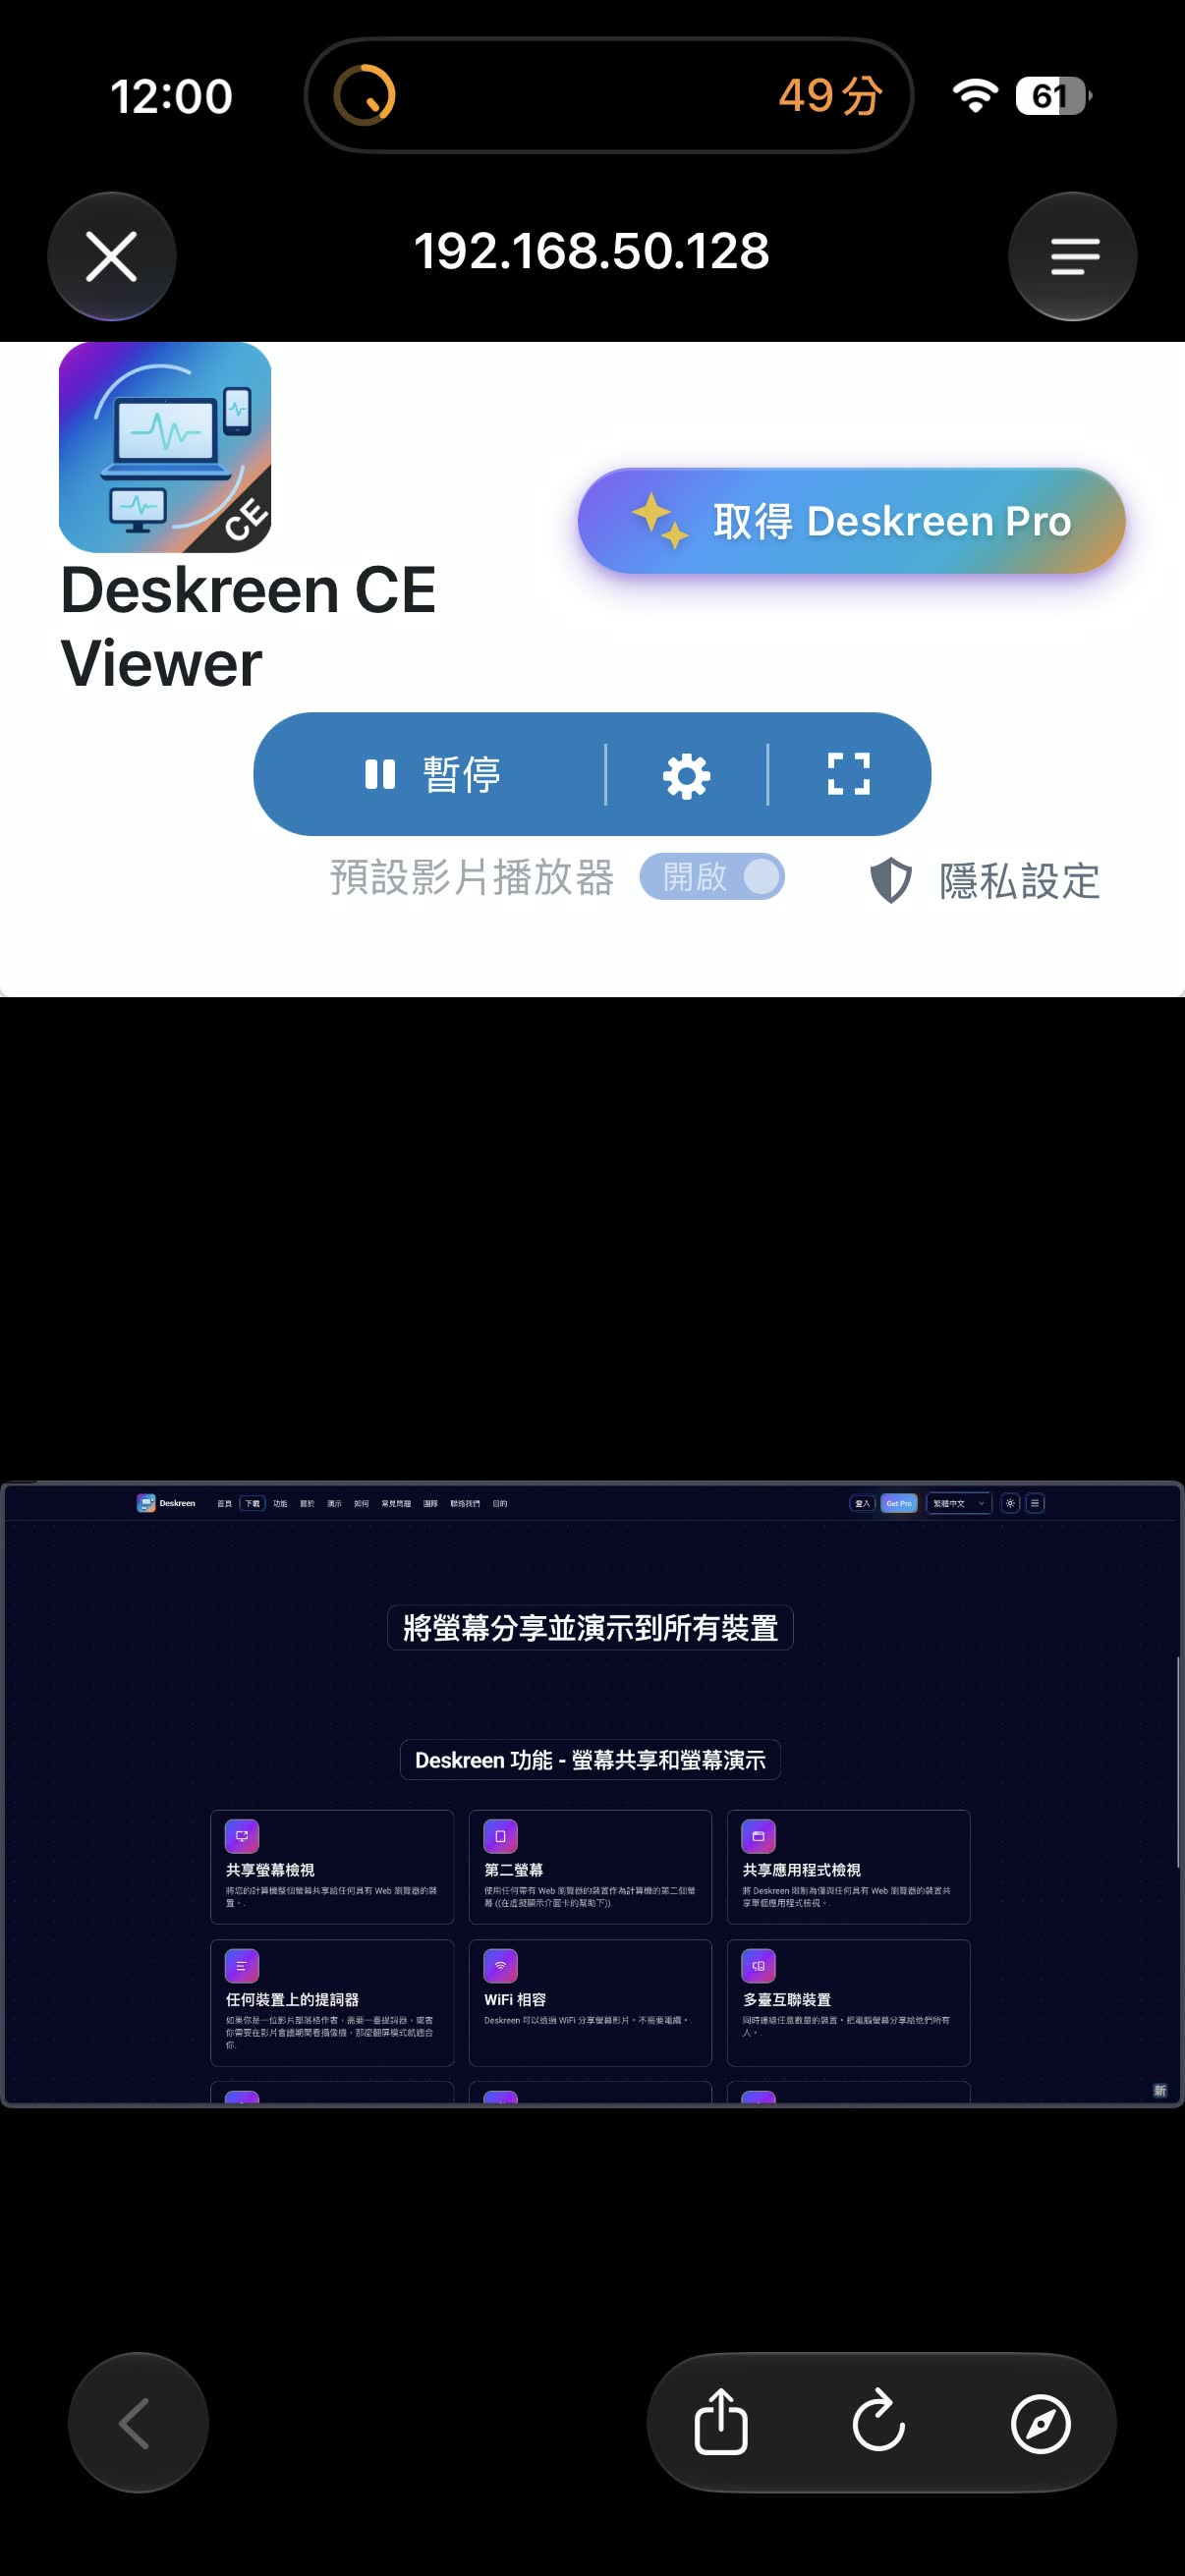
After scanning the QR Code with a phone, you can see the shared computer screen in the browser
About Same-Network Use and IP Addresses
Deskreen mainly runs inside the same local network. The “same network” I am talking about here is closer to the everyday meaning: the same Wi-Fi, the same office intranet, or the same network environment under the same router.
If you see IP addresses like 192.168.x.x, 10.x.x.x, or 172.16.x.x on screen, they are usually private IP addresses. They are not your public internet IP, and people outside cannot connect from the internet using that address directly.
That said, I would still pay attention to a few things:
- Do not paste Deskreen’s connection URL into public chat rooms or social platforms.
- Do not share sensitive screens on public Wi-Fi you do not trust.
- Do not enable port forwarding on your router and expose it to the public internet.
- Confirm the receiving device information before sharing.
- If you can choose a single window, do that instead of sharing the whole desktop.
If you are just writing a tutorial article, having a screenshot that shows a private IP like 192.168.x.x is usually very low risk. But when publishing publicly, I still tend to mask it. It also makes the screenshot look cleaner to readers.
Hands-On Notes
I think the best part of Deskreen is not that it has lots of features, but that it is direct enough. Open the app, scan the QR Code, choose the screen, confirm, and the receiving side can watch through a browser. You do not need to install the same software on every device.
Its limitations are also clear. It depends quite a bit on the network environment, and it works best when everyone is on the same stable local network. It also is not designed for full remote control. The receiving side is mainly there to view the screen.
If your needs are temporary demos, ad hoc presentations, or briefly letting a phone or another computer view your screen, a tool like Deskreen is a good fit. It does not need to be heavy, and you do not need to plan out accounts and permissions first.
But if you need long-term remote work, cross-network sharing, recorded meetings, or multi-person collaboration, do not force Deskreen into that role. Treating Deskreen as an emergency tool in your toolbox fits its usage model much better.
Related Links: