Recordly Hands-On: Open-Source Screen Recording and Auto Zoom-In Editor (macOS/Windows/Linux)
I recently tested the open-source Recordly. It combines recording and post-production, automatically generates zoom suggestions based on mouse activity, and includes polish features like cursor smoothing, shadows, and borders, which saves a lot of time when making software demo videos.
Introduction
As a developer, I often need to record demo videos or GIFs for small projects I build. In the past, I usually just used the system's built-in screen recording feature, but the resulting videos looked very static. If the mouse moved too quickly, or if the clicked area was not obvious enough, readers had a hard time seeing the details of the operation. If I wanted to manually add zoom-ins, smooth cursor paths, and click ripple effects in video editing software, the process of pulling keyframes by hand was extremely tedious.
In fact, across the forty-plus tool hands-on articles I have accumulated on this blog, every demo video and operation walkthrough was recorded with Recordly, this open-source desktop recording and editing tool. I have been using it for quite a long time and would count myself as a heavy user. It can automatically record mouse movement paths, generate zoom suggestions inside the editor, and even add motion blur, custom styling, and webcam bubbles to the cursor. I recorded a short walkthrough of the interface:
Download, Installation, and Platform Support
Recordly supports macOS, Windows, and Linux. There are two main installation paths. You only need to choose one of them:
Option 1: Download Directly from the Official Website (Recommended)
This is the simplest and most direct way to install it. I recommend going straight to the Recordly official website and downloading the prebuilt installer for your operating system.
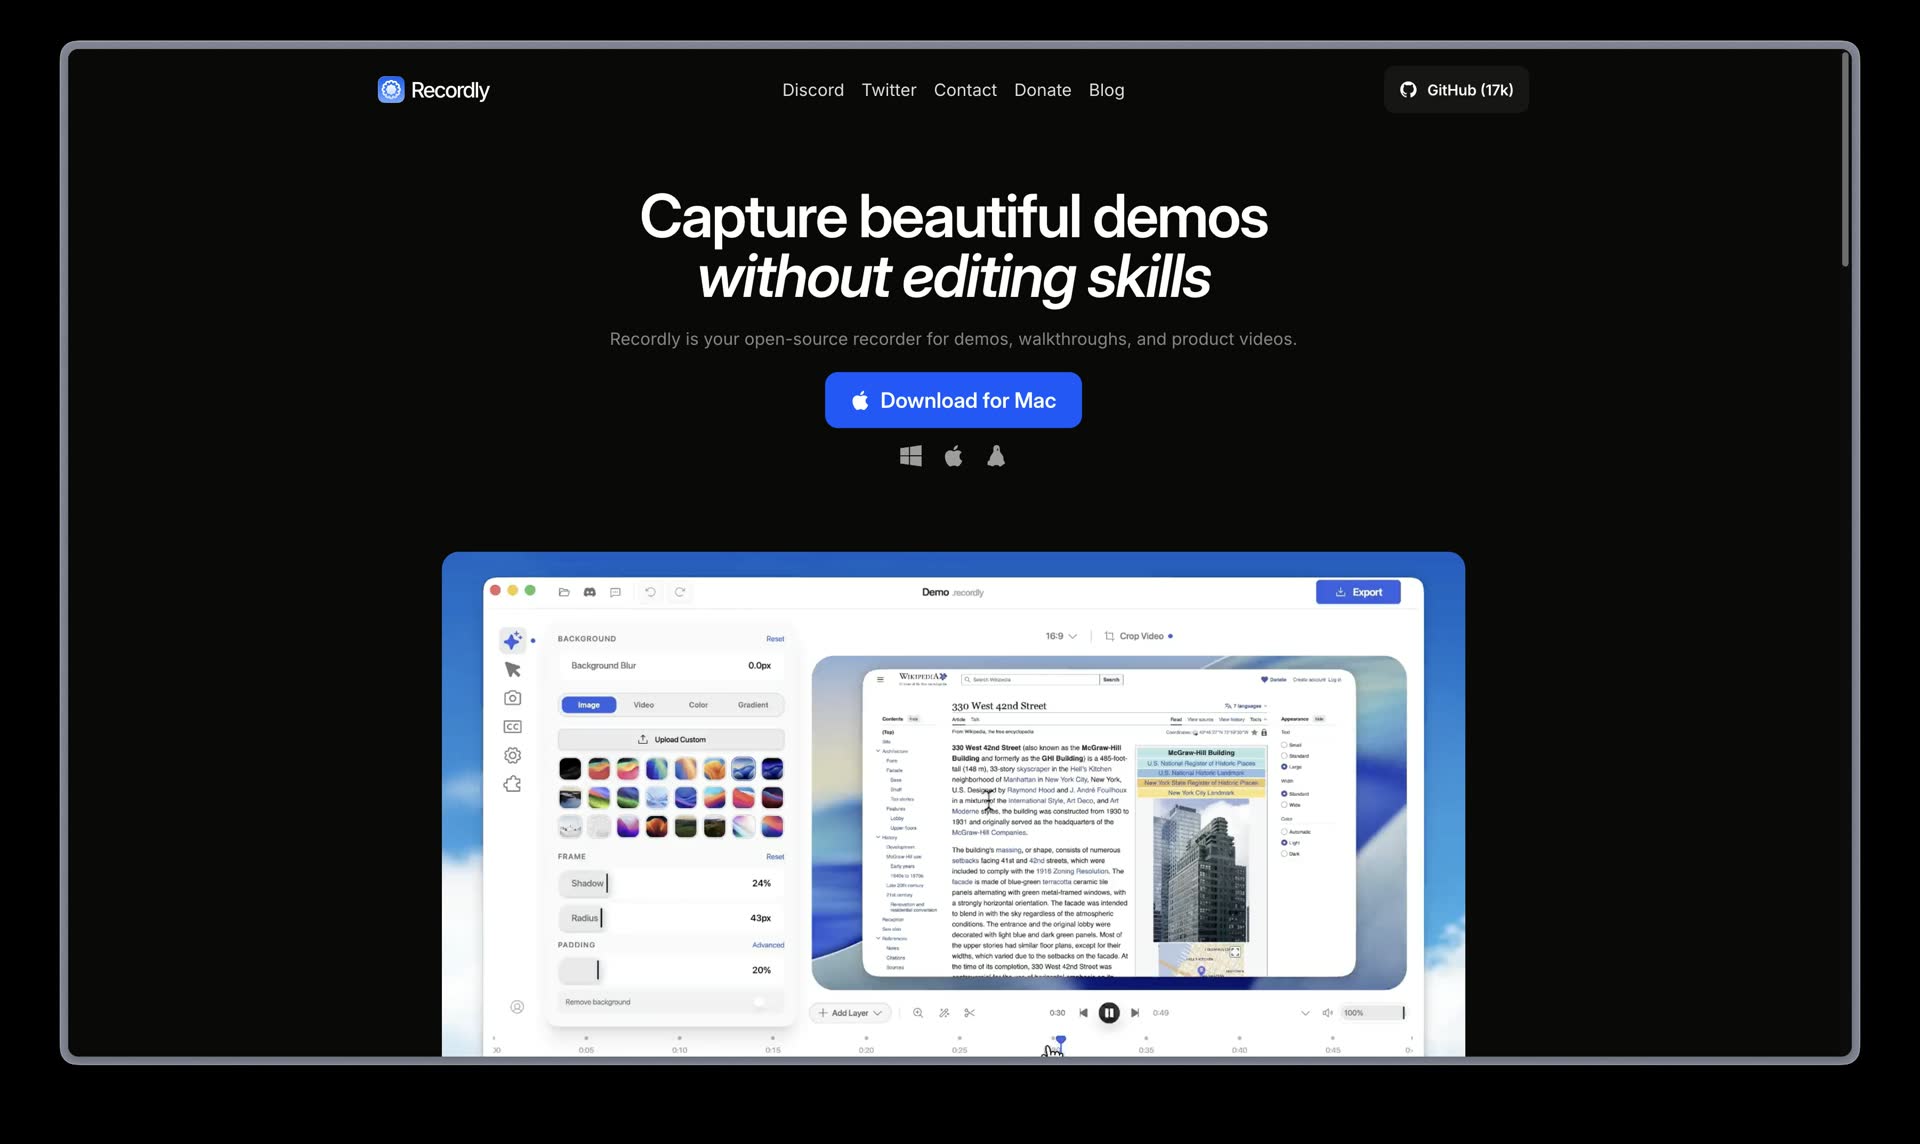
Go to the Recordly homepage and click the download button to download the installer
Option 2: Package Manager or Local Build
If you are an Arch Linux user, or if you want to build it from source yourself:
Arch Linux users can install it through AUR:
yay -S recordly-bin
If you want to compile it manually, you can clone the repository and install the dependencies:
git clone https://github.com/webadderallorg/Recordly.git recordly
cd recordly
npm install
npm run dev
Build command:
npm run build
On macOS, if you build and package the app locally yourself, the system may quarantine it and prevent it from opening. You can clear the quarantine flag with the following command:
xattr -rd com.apple.quarantine /Applications/Recordly.app
Cross-Platform Compatibility Notes
- macOS: Supports macOS 14.0+. It uses the system-native ScreenCaptureKit for recording, so it can cleanly hide the physical mouse cursor and record system audio.
- Windows: Supports Windows 10 Build 19041+. It uses Windows Graphics Capture (WGC) and WASAPI to record system audio.
- Linux: Records through Electron's capture API. System audio usually requires PipeWire. Hiding the physical cursor is not currently supported on Linux, so if cursor styling is enabled, two pointers may appear on screen at the same time.
Traditional Chinese Interface Settings
The first time I opened this tool, the default language was English. But after I clicked into Settings in the top-right corner, I found that the language menu at the top lets you directly select 「繁體中文」. After setting it, all interface labels and feature descriptions switch over, which feels very straightforward for developers used to a Chinese environment.
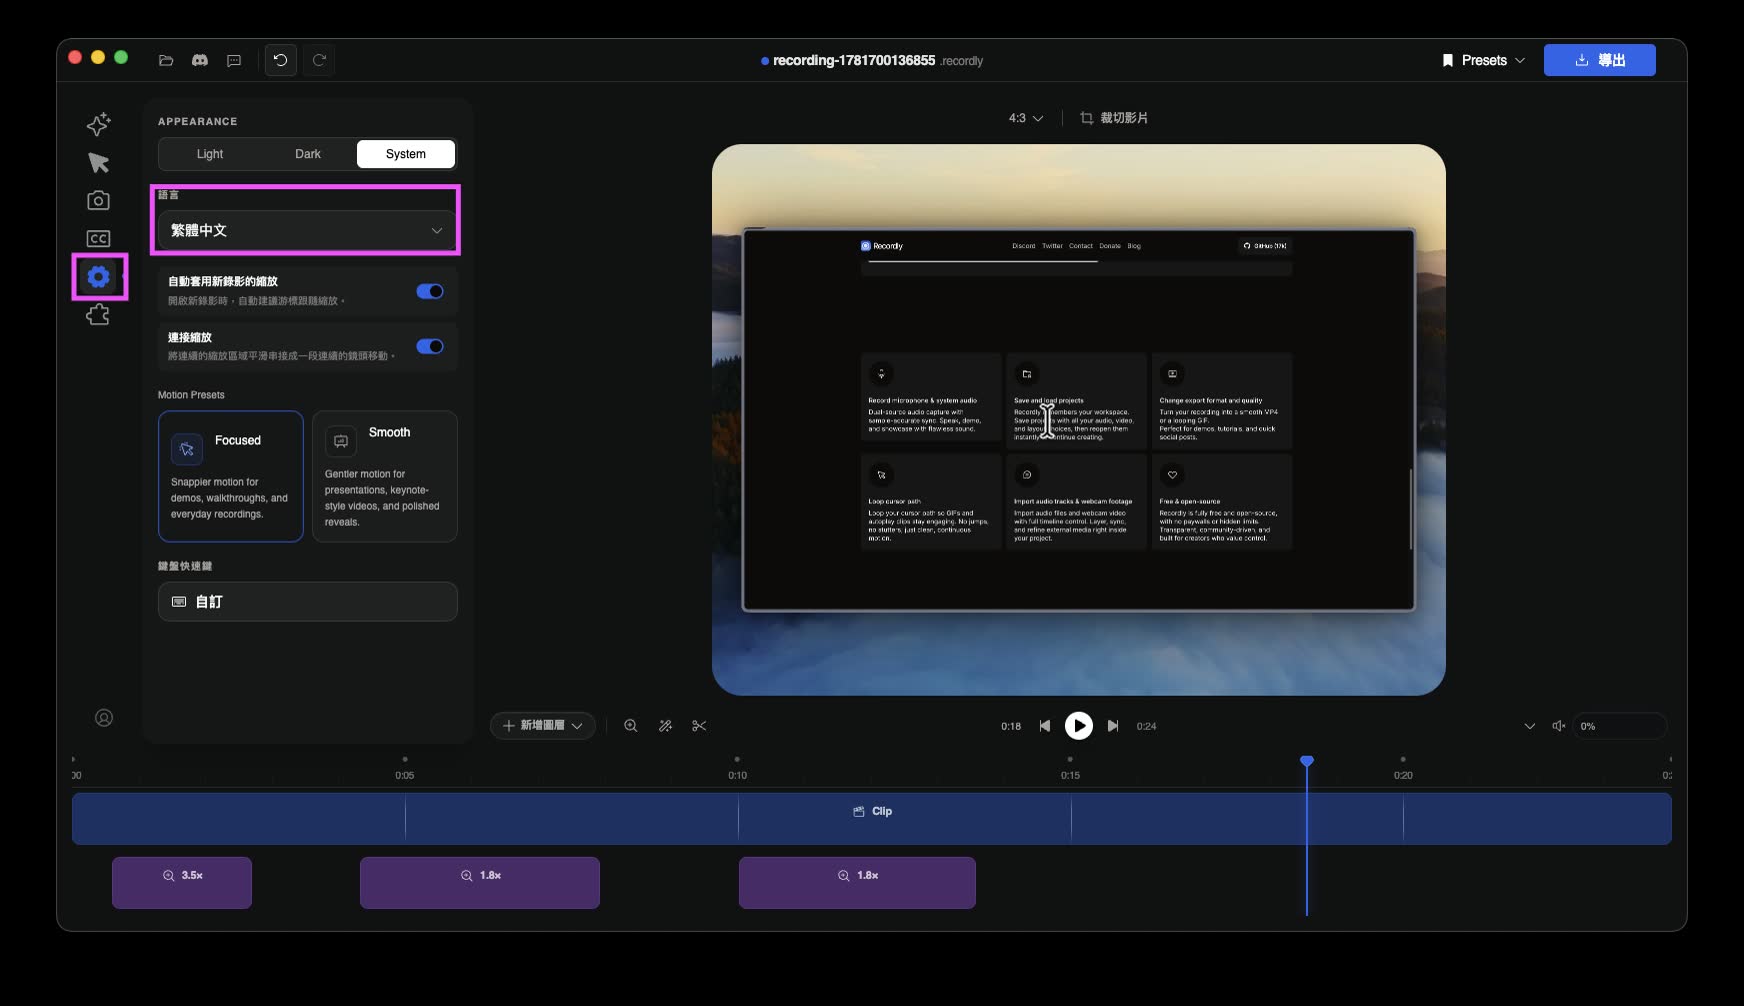
After clicking Settings, switch to Traditional Chinese in the Language option at the top
Core Features Tested and Experience
After using it over the past few days, the three features I use most often are:
1. Auto-Zoom and Cursor Smoothing
Demo videos often need to focus on a specific button or input field. In Recordly, the editor recommends zoom regions on the timeline based on where I clicked and paused my mouse during recording. I only need to click a suggestion, and the view smoothly zooms into the cursor's position.
It also lets me customize the cursor appearance, such as switching to a macOS-style pointer, adjusting its size, adding Motion Blur, and adding ripple animation on clicks. The cursor path ends up looking like it has been tuned by a motion designer.
2. Webcam Bubble Overlay and Automatic Avoidance
If I want to add my own explanation video into a demo, I can use its webcam overlay feature. Recordly turns the video feed into a circular bubble, and I can freely adjust its corner radius, shadow, border, and position.
The part I personally find especially noticeable is that when auto-zoom is triggered, this webcam bubble can be set to "responsive zoom." It automatically scales or moves to avoid blocking the area currently being zoomed in on. That design detail is very thoughtful.
3. Drag-and-Drop Timeline Editor
General video editing software includes too many features unrelated to software demos. Recordly's editor is designed around demo-making needs. I can directly drag on the timeline to adjust zoom regions, trim unnecessary clips, speed up or slow down playback, such as when waiting for packaging or download progress, and add text or image annotations. After editing, I can also save the state as a .recordly project file and continue modifying it next time.
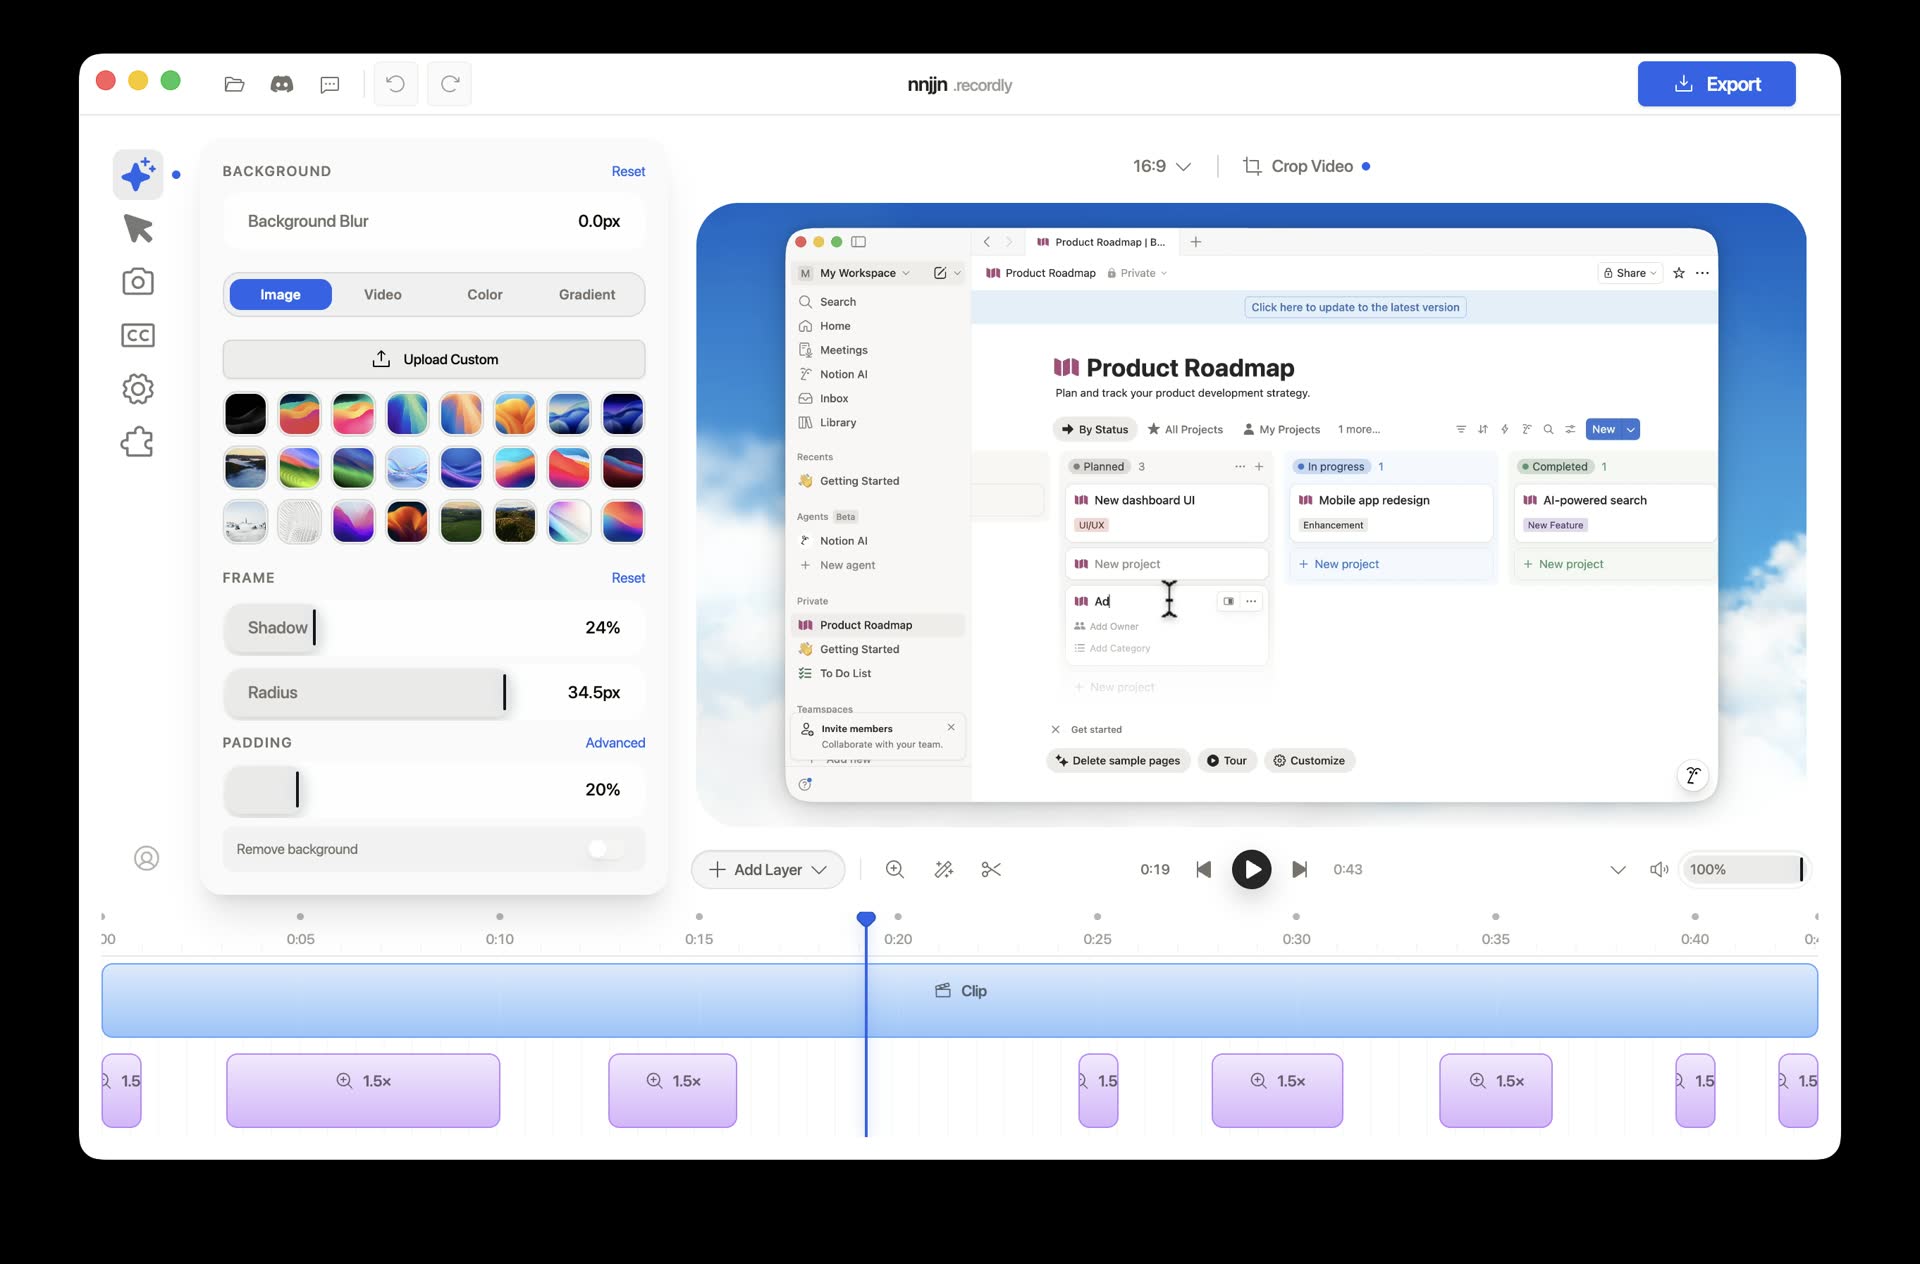
In the editing interface, you can drag to edit zoom timing, add backgrounds, and add text annotations
My Take
This blog has accumulated more than forty tool hands-on articles, and all of the operation demos in them were made with Recordly. In the past, to make showcase videos with this kind of polish, I had to throw the recording into Premiere afterward and spend a lot of time drawing cursor paths and building zoom-in motion effects. Now, with Recordly, once I finish recording, I basically just click a few recommended zooms in the editor, apply the built-in gradient background, rounded corners, shadow, and border, and then export directly as MP4 or a high-quality GIF.
Because it is rendered with web technology, preview performance can occasionally have slight stutters during editing. But the final exported output quality is very good, and it is convenient for putting into a GitHub README or showing on Twitter. It is completely free and open-source. If you are also a developer who often needs to showcase your work, I recommend downloading it and trying it out.